Choose a connector by the cable’s impedance, designation, outside diameter, and shield construction—not by the connector’s mating face alone. The right coax cable ends preserve the cable’s electrical performance and provide a secure mechanical connection.
Identify the cable first, then select a compatible connector, terminate it to the manufacturer’s dimensions, and use a coax loss chart to estimate attenuation across the finished run. Continuity testing confirms basic wiring, while insertion-loss testing reveals whether the completed assembly performs as expected.
How do you identify coax cable ends by impedance, designation, diameter, and shield?
Read the printing on the jacket before cutting the cable. Common designations include RG-6, RG-59, RG-58, LMR-240, and LMR-400. The designation indicates a construction family, but confirm the specific manufacturer’s diameter, impedance, frequency range, and attenuation data.
- Impedance: 50-ohm cable is common in radio, wireless, and test equipment. 75-ohm cable is common in television, video, and broadband distribution. Match the cable and connector impedance to the equipment whenever possible.
- Diameter: Measure or verify the jacket and dielectric dimensions. Connectors are made for specific cable diameters; a connector that fits the mating port may not fit the cable correctly.
- Shield: Note whether the cable uses foil, braid, dual shielding, or a combination. The connector must capture the shield without damaging it or leaving gaps.
- Center conductor and dielectric: Solid and stranded conductors require different pin designs, and the insulation diameter determines how the pin and connector body align.
Do not substitute a connector solely because it has the correct F, BNC, N, or SMA mating face. Check the connector’s cable-side dimensions, termination method, impedance, and supported cable models.
Which coax connectors—F, BNC, N, and SMA—fit the cable?
Connector families serve different equipment and cable sizes:
- F connectors: Usually 75 ohms, threaded, and widely used with RG-6 and RG-59 for television, satellite, and broadband. Compression types generally provide better weather resistance and pull strength than basic push-on or screw-on versions.
- BNC connectors: Available in 50- and 75-ohm versions, with a bayonet coupling. Choose a crimp, clamp, or compression model that specifies the exact cable diameter and construction.
- N connectors: Typically threaded and available in 50- or 75-ohm designs. Their larger body and sealing options suit outdoor, wireless, antenna, and higher-power applications.
- SMA connectors: Small, threaded, and normally 50 ohms. They are common on compact radio, GPS, Wi-Fi, and test equipment cables. Confirm the cable size and frequency rating because small coax types vary considerably.
Use the connector manufacturer’s compatibility list rather than relying on the cable designation alone. Two cables with the same nominal designation can have different jacket sizes or shield constructions.
How do you terminate and inspect a connector before checking continuity and insertion loss?
- Cut the cable squarely and strip it to the supplied dimensions. Keep the dielectric round and avoid nicking the center conductor or shield.
- Fold or prepare the braid and foil exactly as specified. Do not remove shield material that the connector needs for contact.
- Install the center pin, then insert the prepared cable fully into the connector body. The dielectric should stop at the designed position, with no exposed gap.
- Crimp, clamp, or compress the connector using the correct tool and die. For threaded interfaces, tighten the coupling nut to the specified torque without twisting the cable.
Inspect the finished end for a straight center pin, a fully captured jacket, even shield contact, and no loose braid strands. The dielectric must not be crushed, pushed back, or visible where it should be covered. Check continuity from center conductor to center conductor and shield to shield. Then check for an open circuit between the center conductor and shield. Continuity cannot detect every impedance, shielding, or frequency-response problem, so use a calibrated analyzer or insertion-loss test set when performance matters.
How do you read a coax loss chart by frequency and length, then add connection loss?
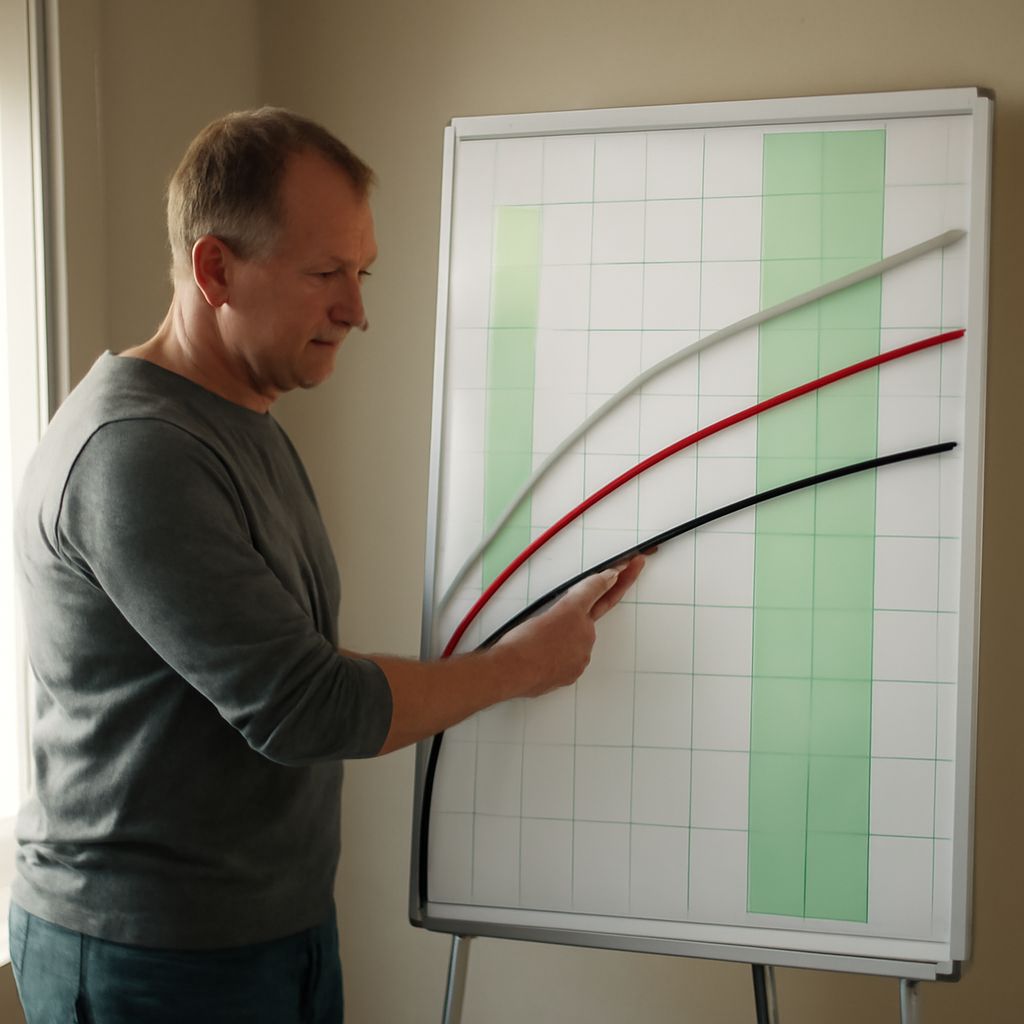
A coax loss chart lists attenuation in decibels, commonly as dB per 100 feet or dB per 100 meters, at selected frequencies. Find the operating frequency, read the cable’s attenuation value, and scale it to the actual length:
Cable loss = chart attenuation × actual length ÷ chart length.
For example, if a chart lists 6 dB per 100 feet at 1 GHz, a 50-foot cable contributes about 3 dB at that frequency. At a lower frequency, the same cable normally has less loss; at a higher frequency, it normally has more. Loss also increases with length, so two 50-foot sections have approximately the same cable loss as one 100-foot section, provided the cable type is identical.
Estimate the finished run by adding every cable section and each connector or adapter. If two connectors are rated at 0.25 dB each, the example run totals approximately 3.5 dB: 3 dB of cable loss plus 0.5 dB of connection loss. Use the manufacturer’s connector data, especially at high frequencies, because a poorly installed connector can exceed its nominal insertion-loss rating. If a measured insertion-loss result already includes the connectors, do not add their losses again.