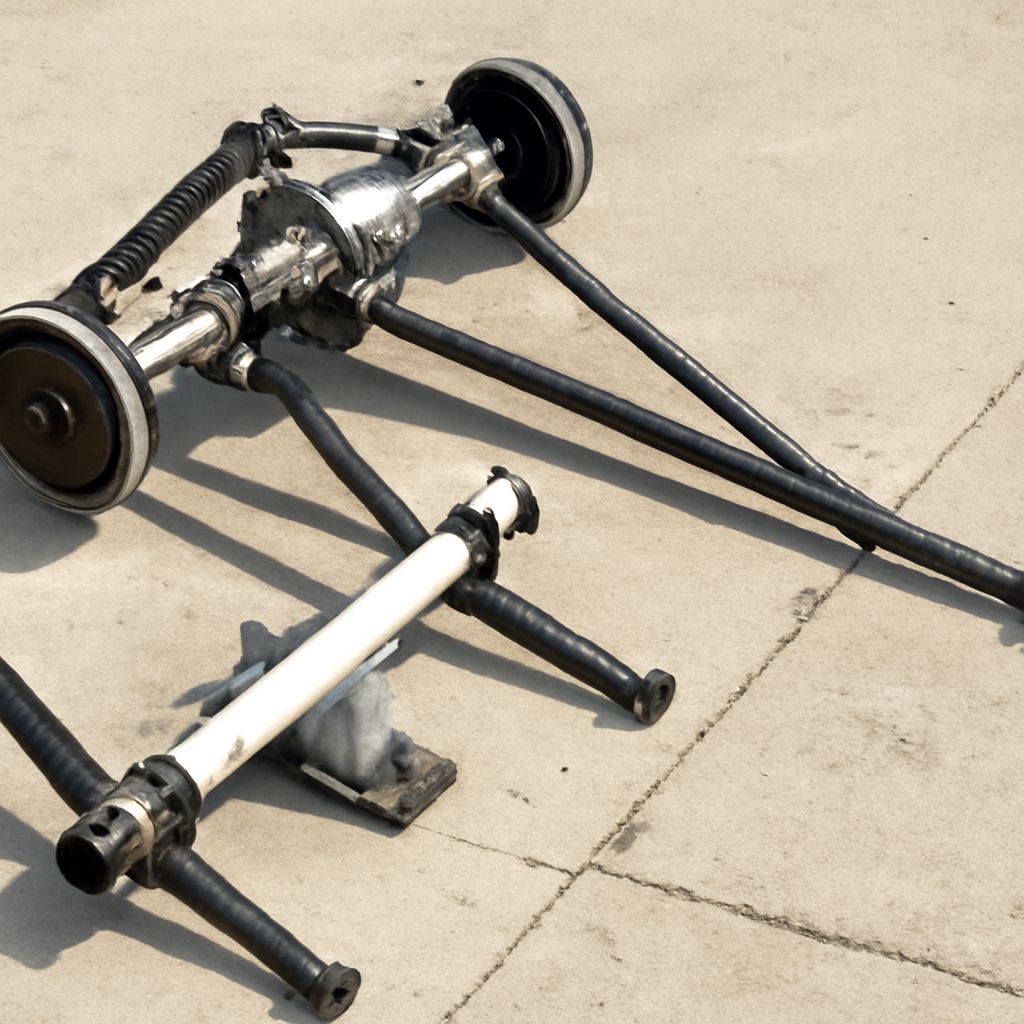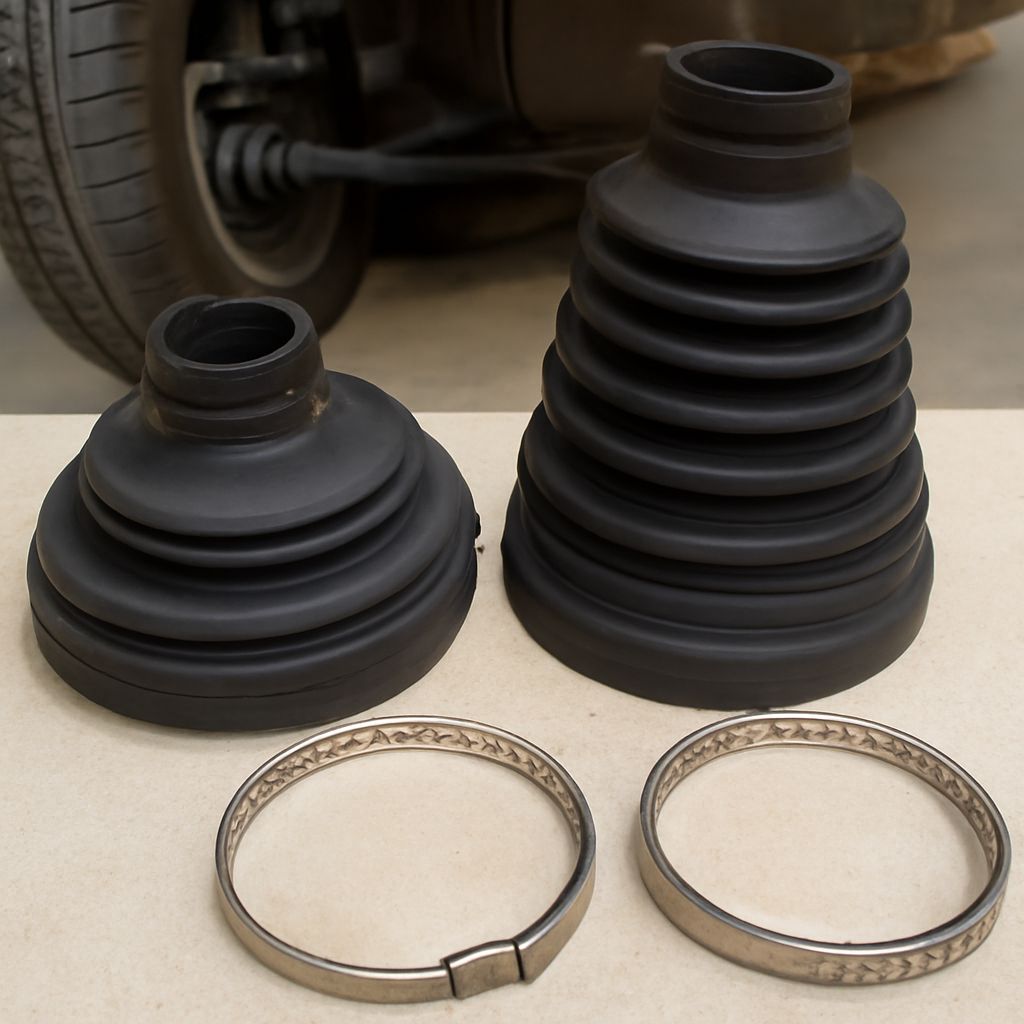
The CV boot, also known as the CV joint boot, is a crucial component in your vehicle’s drivetrain system. It plays a vital role in protecting the CV joint, which is essential for smooth wheel rotation during driving. Proper maintenance of the CV boot ensures optimal performance and longevity of your vehicle. Understanding its function and recognizing signs of damage can save you from costly repairs.
What is a CV Boot and Why is it Important?
The CV boot is a rubber or plastic cover that encases the CV joint, which connects the drive shafts to the wheels. Its primary function is to keep the joint lubricated with grease while preventing dirt, debris, and moisture from entering. The health of the CV boot directly impacts the efficiency of the CV joint, which is responsible for transmitting power from the transmission to the wheels.
Common Signs of a Damaged CV Boot
A damaged CV boot can lead to significant drivetrain issues. Here are common signs to watch for:
- Visible cracks or tears: Inspect the CV boot for any visible damage. Cracks or tears can allow contaminants to enter and grease to escape.
- Grease splatter: Look for grease on the inside of the wheel or around the wheel well. This indicates that the boot has ruptured.
- Clicking noises: A clicking or popping noise when turning is a clear sign that the CV joint is failing due to insufficient lubrication.
- Vibration while driving: Increased vibrations, especially during acceleration, can indicate that the CV joint is compromised.
How to Replace a CV Boot
Replacing a CV boot can be a do-it-yourself task if you have the right tools and experience. Here’s a step-by-step guide:
- Gather tools and parts: You’ll need a new CV boot, grease, clamps, a jack, and wrenches.
- Lift the vehicle: Safely lift the vehicle using a jack and secure it with jack stands.
- Remove the wheel: Take off the wheel to access the CV joint and boot.
- Disconnect the CV joint: Loosen the axle nut and remove any bolts securing the CV joint.
- Remove the old boot: Cut the old boot and clean the joint thoroughly.
- Install the new boot: Slide the new boot onto the axle, fill it with grease, and secure it with clamps.
- Reassemble: Reattach the CV joint, ensuring it’s secure, and reinstall the wheel.
- Lower the vehicle: Carefully lower the vehicle and ensure everything is tightened properly.
If you’re unsure about any step, it’s best to consult a professional mechanic.
Tips for Maintaining Your CV Joint Boot
Regular maintenance can prolong the life of your CV boot and joint. Here are some tips:
- Regular inspections: Check the CV boot during routine oil changes for any signs of wear and tear.
- Avoid rough terrain: Minimize driving on rough roads to reduce stress on the CV joint and boot.
- Prompt repairs: Address any leaks or damage immediately to prevent further harm to the CV joint.
- Use quality parts: Opt for high-quality replacement boots and grease to ensure durability.
By following these maintenance tips, you can ensure your vehicle’s CV boot and joint remain in excellent condition, enhancing your car’s performance and longevity.