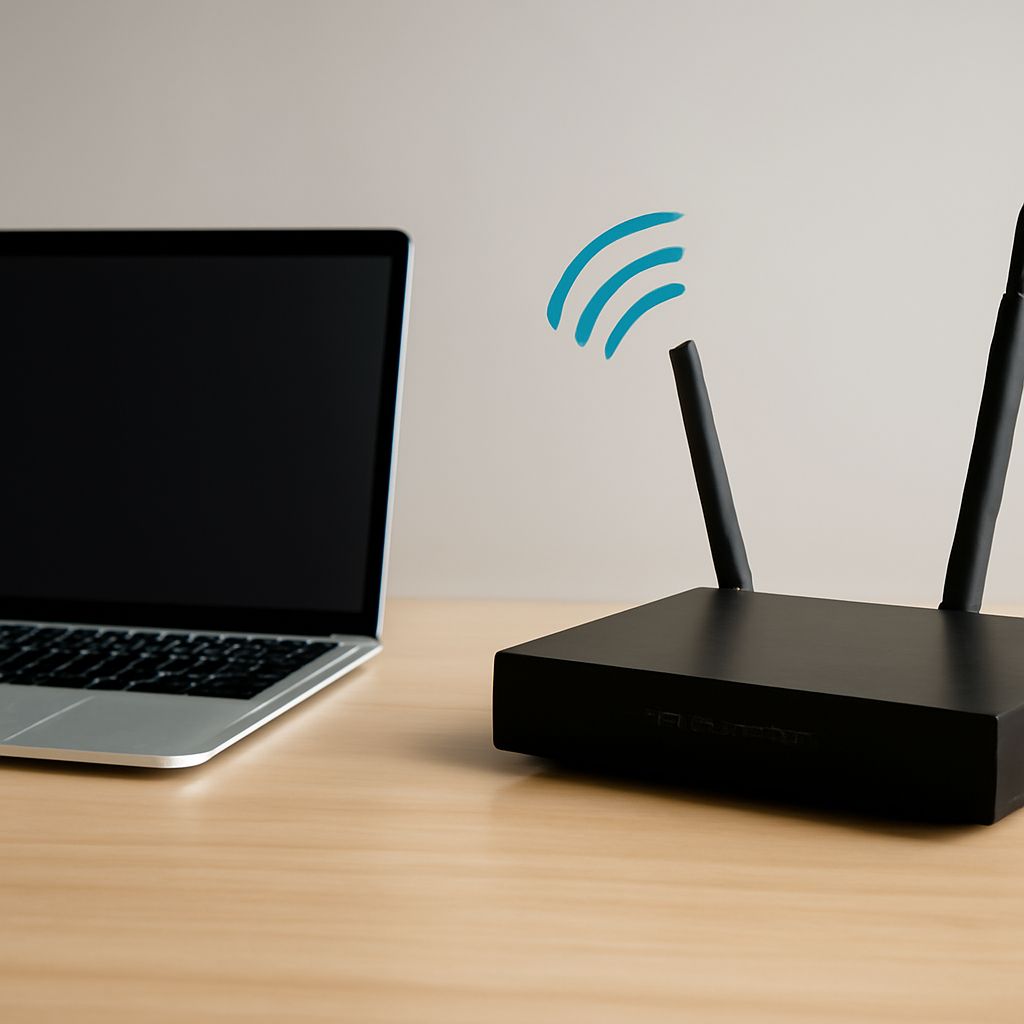
Test a homemade TV antenna at low height before buying or building a 50-foot support. Mount it temporarily 6 to 10 feet above ground, use the intended coax, and record reception for every local channel. If the antenna cannot receive a channel at low height, more elevation may not solve a coverage, aiming, bandwidth, or wiring problem.
Use the low-height results as your baseline. Then compare the same channels at the proposed operating height, rather than judging success from a stronger tuner signal bar or a larger antenna alone.
How do you choose and test a homemade TV antenna?
Start with the real RF channels used by nearby transmitters, not only their virtual channel numbers. A design must cover the local VHF and UHF assignments. VHF elements are physically longer; UHF elements are shorter, and a compact UHF-only design may miss stations broadcasting on VHF. A broadband homemade TV antenna can cover both ranges, but its performance and impedance match still need testing.
- List the local stations, their real RF channels, transmitter directions, and approximate distances.
- Build or tune the antenna for those bands, keeping element lengths and spacing consistent with the design.
- Mount it temporarily in the open, away from metal siding, gutters, power wiring, and nearby trees.
- Point it toward the station group, scan once, and record each channel’s picture stability, signal quality, and dropouts.
- Rotate it in small increments and repeat the test, because a broad pattern can still have useful aiming differences.
Use the same tuner, coax, splitter arrangement, and measurement method for every trial. A channel that scans but breaks up is not a successful baseline. Test at different times if trees, vehicles, or local electrical noise may change the result.
Will more height improve reception at your site?
Height helps when terrain, roofs, trees, or other clutter block the signal path. It does not automatically repair an antenna that does not cover the required band or is pointed away from the transmitter. Radio-horizon geometry is a useful first estimate: in miles, the horizon is approximately 1.23 times the sum of the square roots of the antenna height and transmitter height, with both heights in feet. Terrain between those points can reduce the practical range.
Use a map or terrain profile to check whether elevation clears a ridge or nearby obstruction. A few feet may remove a roofline, while adding 40 feet may still leave a hill in the path. Height can also change multipath reflections, so a higher installation may improve one channel and worsen another.
Compare the low-height baseline with a temporary test at the planned elevation if possible. Include the antenna’s height above ground, the building height, nearby clutter, and the transmitter bearing. The result should show a repeatable improvement in channel-level signal quality, not merely a theoretical line of sight.
When does a radio antenna tower make sense for TV reception?
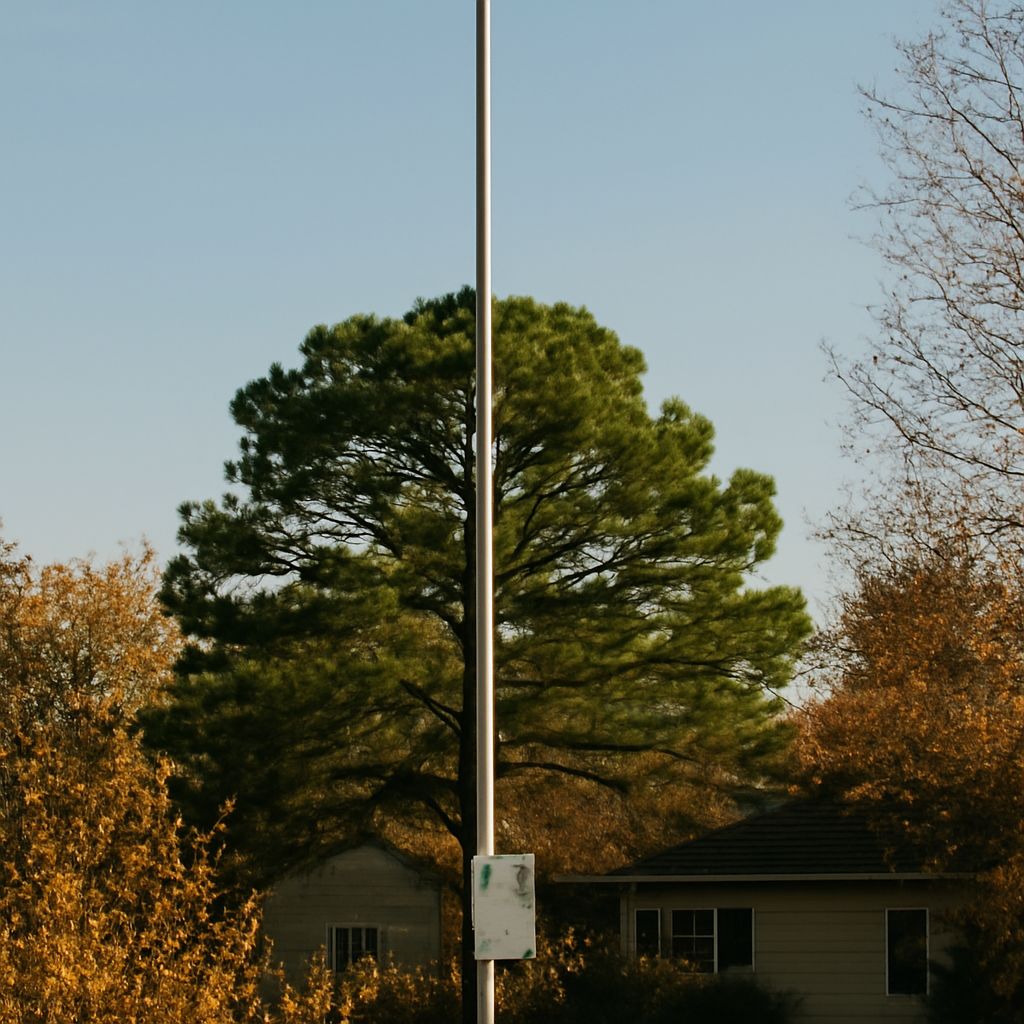
A radio antenna tower makes sense when testing shows that elevation consistently improves the target channels and the added signal margin justifies the cost and structural work. A 50-foot antenna mast is often simpler for a light antenna, but it needs suitable attachment, bracing, and a stable base. A freestanding or guyed tower can carry greater loads and provide a working platform, but it transfers larger forces into its foundation and usually requires more careful structural planning.
Choose the configuration around the site, not the nominal height. A roof-mounted mast has building and flashing concerns; a guyed mast needs clear guy-anchor locations; a freestanding tower needs a foundation and adequate clearance. Check local setback, grounding, and permit requirements before construction, and use components rated for the intended height and exposure.
Do not size the support by height alone. The antenna’s projected wind area, boom, reflector, brackets, coax, ice exposure, and any future antennas all contribute to wind load. Wind force acts through a lever arm, so the base, fasteners, and mounting points experience much more than the antenna’s weight. Follow the support manufacturer’s load limits or obtain a site-specific structural design.
How do you plan wind load, coax loss, aiming, and final verification?
Make a simple link budget before committing to the structure. Start with the expected received level, add antenna gain, then subtract coax loss, connector loss, splitter loss, and any other passive loss. Use the cable manufacturer’s loss specification at the highest local UHF frequency; a long run can lose more than expected, even when the vertical rise is only 50 feet. RG-6 is generally preferable to older, higher-loss RG-59 for typical TV runs. Keep connectors weatherproof and avoid unnecessary couplers.
Do not assume an amplifier creates signal margin. It can offset distribution loss when the incoming signal is clean, but it cannot restore a poor signal-to-noise ratio and may overload from strong local stations. Place a suitable preamplifier near the antenna only after measuring the baseline and checking its overload limits.
At operating height, aim using the transmitter bearings, then make small adjustments while watching channel quality. Record every real RF channel before and after the move, including dropouts, quality or SNR readings, and weather or time conditions. The installation is proven only when the final channel-level comparison shows stable reception with the planned coax, support, and grounding in place.