Build a homemade antenna mast only after the antenna proves it can receive your local stations. First map the stations and test a homemade HDTV antenna at low height; then size the shortest mast that can safely support its wind area, coax, and mounting hardware.
This order prevents a tall permanent installation from hiding a weak antenna design. It also lets you compare reception at test height and final height using the same channel scan and aiming method.
Map local channels and directions before building
Use a local broadcast database or reception map to list each station’s RF channel, virtual channel, compass bearing, and band. The RF channel determines the antenna design: UHF generally covers channels 14–36, while VHF-high covers channels 7–13. Several stations may share one direction, but a distant station or a station behind trees may require a different aim.
- Record the true or magnetic bearing shown by your mapping source and mark it on a phone compass.
- Note whether each desired station is VHF or UHF; virtual channel numbers do not identify antenna frequency.
- Choose a test location with a clear view toward the stations, away from large metal objects, wiring, and nearby roofs.
- Plan a low test height of about 6 to 10 feet before selecting the final mast height.
Build and test a homemade HDTV antenna for VHF and UHF channels
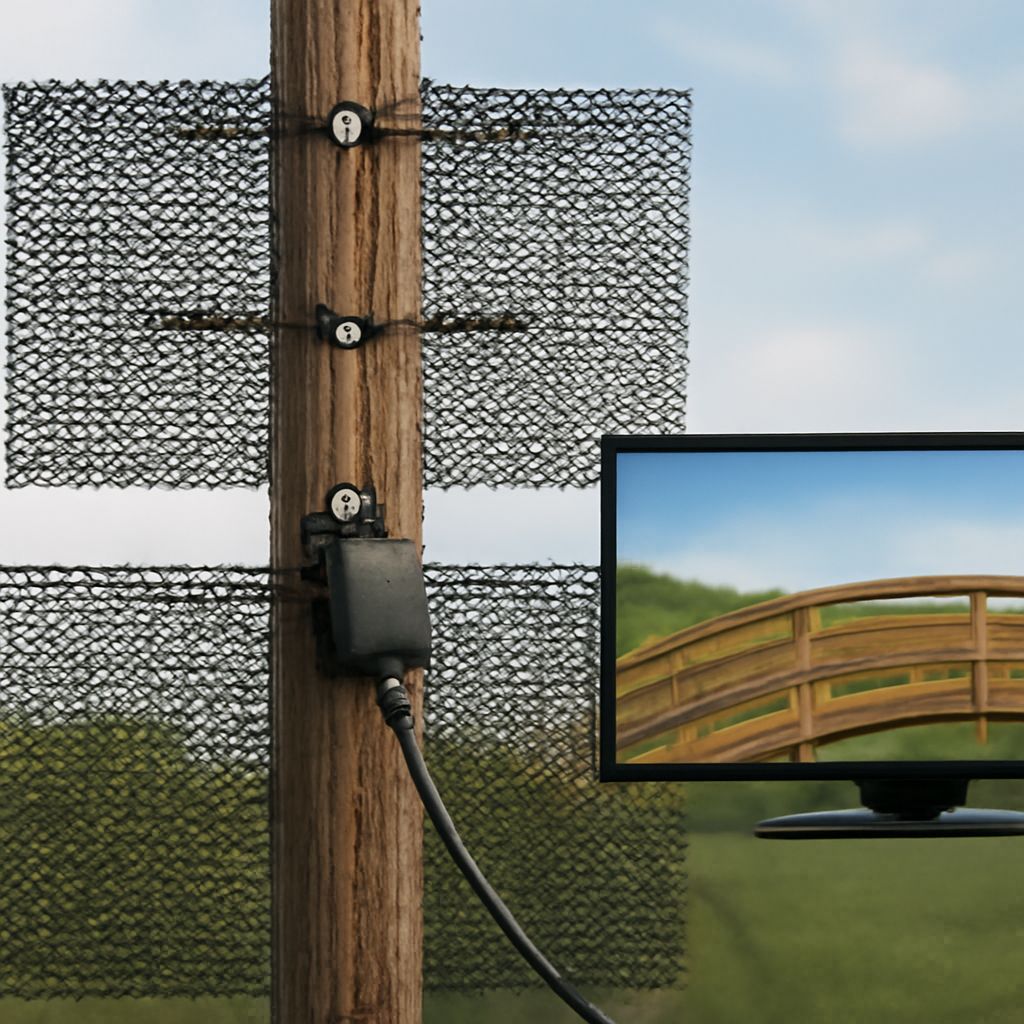
For a compact UHF design, make four bowtie elements from 12- or 14-gauge copper or aluminum wire. Form each element from two triangular wings about 6 to 7 inches long, leaving a roughly 1/2-inch feed gap. Space the four bowties about 8 to 10 inches apart on a rigid, nonconductive board, and place a wire-mesh or metal-rod reflector 4 to 6 inches behind them. Recalculate the wing length and spacing if your stations are concentrated at the edges of the UHF range.
UHF dimensions will not efficiently cover VHF-high. If your channel list includes VHF, add a separate center-fed dipole or use longer elements. A half-wave dipole for channels 7–13 is approximately 26 to 32 inches overall, with each arm about 13 to 16 inches; tune the length toward the center RF frequency of the stations you need.
- Join the two feed points of each bowtie or dipole to a 75-ohm matching transformer, keeping the connections short and symmetrical.
- Attach RG-6 coax to the transformer, support it on the board, and weatherproof the connection after testing.
- Place the antenna outdoors at the low test height, aim it toward the strongest station group, and run a television channel scan.
- Record channels found and, where the television provides them, signal quality or error readings. Rotate the antenna in small increments and scan again.
Design the smallest homemade antenna mast for measured height and load
Use the successful low-height test to decide whether extra height is actually needed. A light DIY antenna can often use 1-1/4-inch galvanized steel conduit or aluminum tube, with the unsupported section kept to about 6 feet or less. Treat that as a starting point, not a universal rating: pipe diameter, wall thickness, antenna size, gust speed, and bracket spacing determine the real limit.
Estimate wind load from projected area. A useful preliminary calculation is force = 0.00256 × wind speed² × projected area × drag factor, using miles per hour and square feet. Include the antenna, mast above the upper bracket, and any hardware. The resulting force multiplied by its height creates bending moment at the mount. If the calculation or bracket rating is inadequate, shorten the unsupported section, add guy wires, increase pipe size, or use a purpose-built tripod rather than simply adding height.
- Use two solid mounting points into framing or masonry, not a gutter, fascia alone, or loose siding.
- Keep the antenna and mast clear of overhead power lines and large conductive structures.
- Provide a drip loop and a separate coax tie point so cable weight and wind movement do not pull on the feed connector.
What should you check when installing a TV antenna at final height?
- Check that brackets, fasteners, pipe joints, guy anchors, and the roof or wall structure are sound. Keep the mast plumb and ensure the antenna clears the roof and nearby obstructions.
- Install the tested antenna with its elements in the intended polarization, tighten the clamps, and leave enough adjustment for aiming.
- Route RG-6 in a smooth path with no sharp bends. Add a drip loop below the entry point, secure the cable to the mast, and seal exterior connectors against moisture.
- Bond the mast and coax grounding block to the building grounding system as required by local electrical practice. Keep the grounding conductor short and direct.
- At final height, aim at the recorded bearing and run a fresh scan. Compare every important station with the low-height results, not merely the total channel count.
- If a channel disappears, rotate the antenna a few degrees, rescan, and inspect coax connections before adding an amplifier. A poor connection or multipath can create weaker reception than insufficient height.