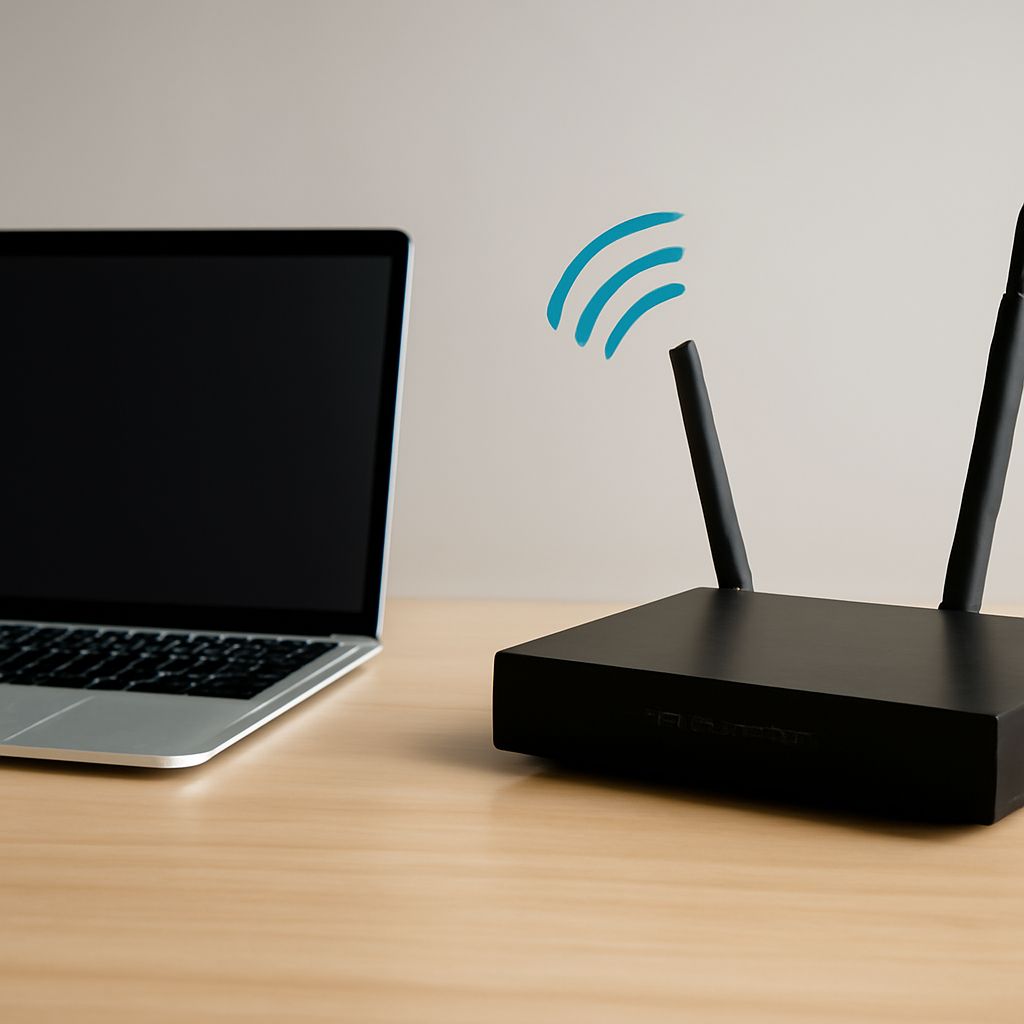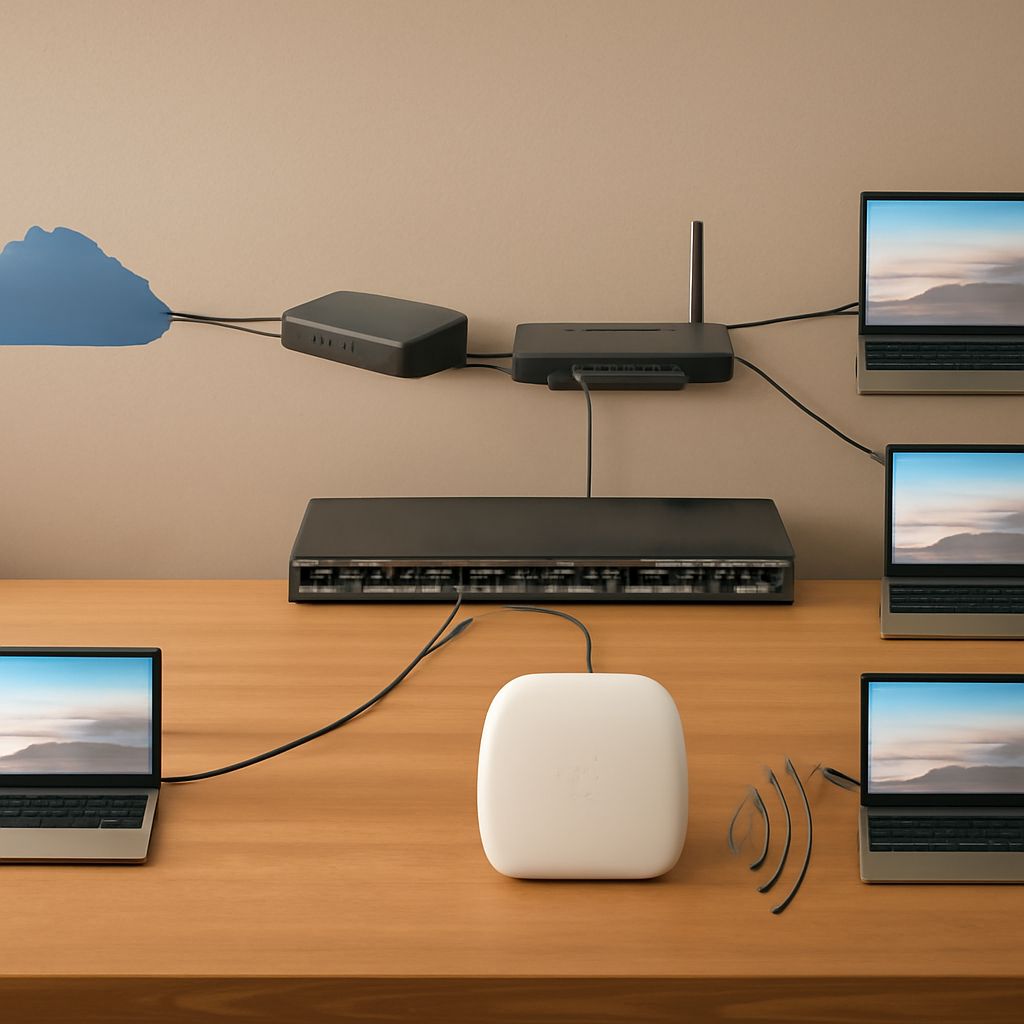
Connect the ISP’s modem or ONT to the router WAN port, then connect wired devices and the access point to the router’s LAN. This layout gives the router one clear job: route traffic between the internet and your private home network.
The router receives a public address, or an upstream private address, on its WAN side. It gives devices private addresses on the LAN, provides the default gateway, and normally owns DHCP. The access point should extend that same LAN rather than create another routed network.
Where the router WAN port fits in the network
Use an Ethernet cable from the modem or optical network terminal (ONT) to the router’s port labeled WAN, Internet, or sometimes with a globe icon. This port faces the ISP. The router’s LAN ports face your home network and connect computers, switches, printers, and the access point.
The WAN address is assigned by the ISP. It may be a public IPv4 address, such as an address reachable from the internet, or a private address if the ISP device also performs routing. The LAN uses a separate private range, commonly 192.168.1.0/24, 192.168.0.0/24, or 10.0.0.0/24. Keeping the WAN and LAN sides separate lets the router perform NAT and enforce its firewall rules.
After connecting the cable, wait for the modem or ONT and router to finish starting. The router’s WAN or Internet indicator should show a link. If it remains offline, check that the cable is connected to the router’s WAN port rather than a LAN port, and confirm whether the ISP requires a login, VLAN setting, or modem restart.
How to find the router IP address
The router IP address used for local administration is normally its LAN address and default gateway, not its WAN address. Clients send traffic outside their local subnet to this gateway. Common examples are 192.168.1.1, 192.168.0.1, and 10.0.0.1.
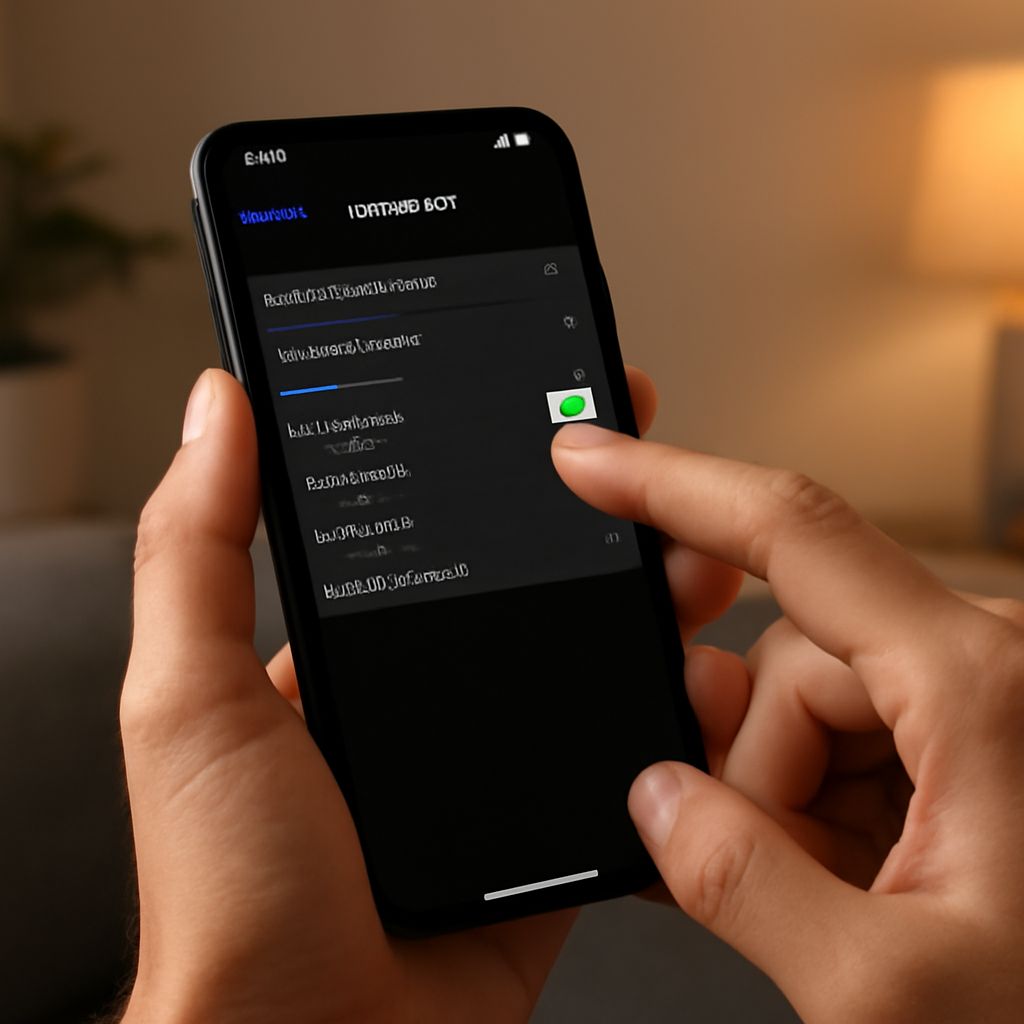
- Connect a computer or phone to the router’s Wi-Fi or LAN, then view its network details. Look for Router, Gateway, or Default gateway.
- On Windows, run ipconfig and read the IPv4 Default Gateway. On macOS, open the connected network’s details and find Router. Linux users can run ip route and read the address following default via.
- Enter that address in a browser, using the router’s management protocol if it requires https://. Sign in with the administrator credentials printed on the device or created during initial setup.
If no gateway appears, the client may not be connected, DHCP may be disabled, or the router may not have completed startup. A manually configured client can also be on the wrong subnet. Restore automatic IP addressing temporarily or check the router’s label and management app.
How to complete access point setup on the existing LAN
Use the access point’s Ethernet uplink to connect it to a router LAN port, or to a switch that leads back to a LAN port. Do not connect the uplink to the access point’s WAN port if that device would then route and perform NAT. If the product has a dedicated uplink that is used in its built-in Access Point mode, follow that mode’s port instructions.
- Open the access point’s management interface while it is connected to the LAN, or select its dedicated Access Point or Bridge mode in the setup wizard.
- Disable the access point’s DHCP server. The main router must be the only DHCP owner, so every client receives an address, default gateway, and DNS settings from the same source.
- Assign the access point a management address in the router’s LAN subnet. For example, if the router is 192.168.1.1 and its DHCP pool is 192.168.1.100 through 192.168.1.199, use an unused address such as 192.168.1.2. Keep it outside the pool, or create a DHCP reservation, and never reuse an address already assigned to another device.
- Set the wireless network name, security mode, and passphrase. For simple roaming, use the same SSID and compatible security settings as the router. If you need separate bands or guest access, configure those deliberately rather than enabling a second router or isolated DHCP service.
- Plan radio channels so nearby access points do not compete unnecessarily. On 2.4 GHz, use non-overlapping channels such as 1, 6, or 11 where available. On 5 GHz, select different channels when the devices are close together and use automatic selection only if it produces a stable result.
After saving the settings, reconnect the access point to its permanent Ethernet run. Its management address should open the access point’s settings, while the router IP address should open the main router. If the access point disappears after DHCP is disabled, check the client’s subnet and browse to the address assigned in the router’s client list.
How to verify client, LAN, and internet connectivity
- Join the access point’s Wi-Fi and inspect the client details. Confirm that the client has a private address in the router’s LAN range, such as 192.168.1.120, rather than an automatic 169.254.x.x address.
- Confirm that the client’s default gateway is the main router, such as 192.168.1.1, and that its DNS servers were supplied by the router or your chosen network service.
- Open the router’s management address and, separately, the access point’s management address. This confirms local reachability and helps identify address conflicts.
- Test another LAN device, such as a shared printer or computer. Then open several internet sites. Local access with no internet access points to the WAN connection, DNS, or ISP settings; internet access through a different subnet indicates that the access point is still routing instead of bridging.