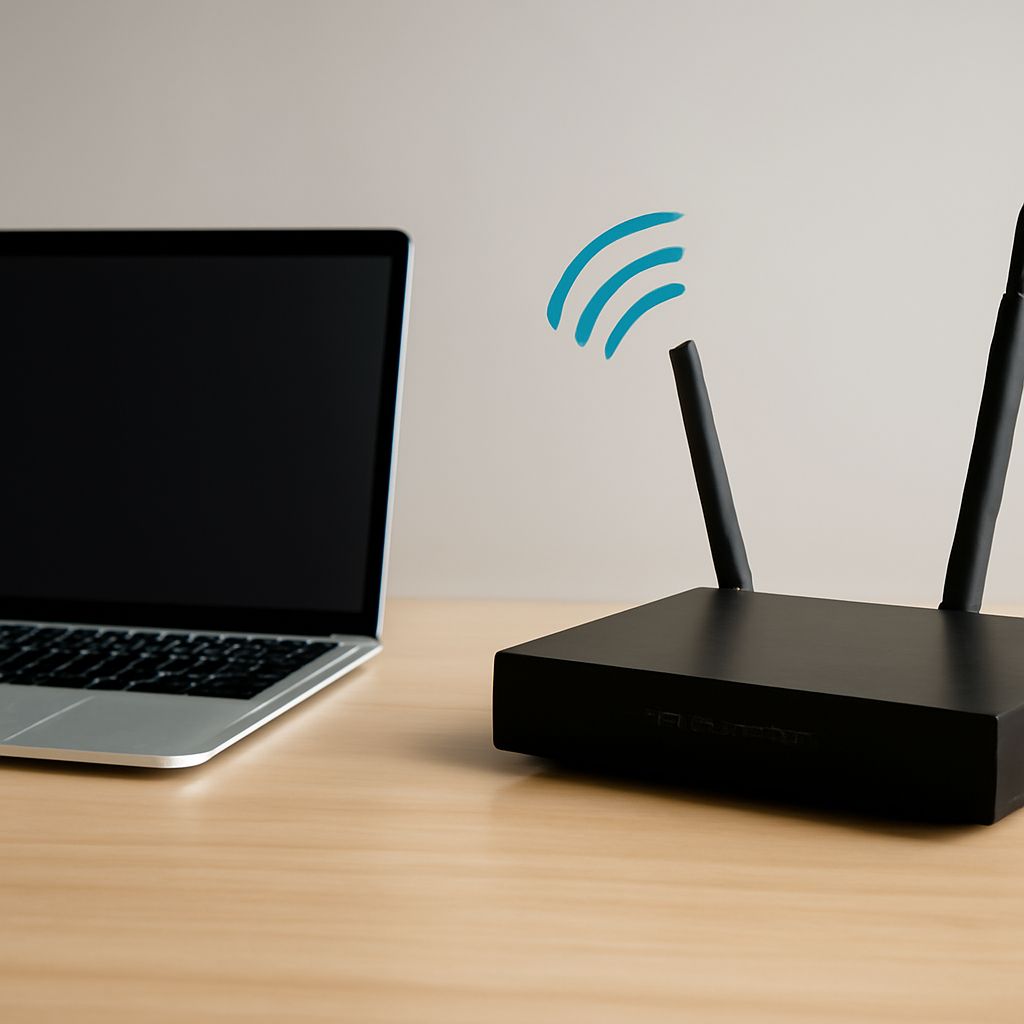
To learn how to get Wi-Fi on a desktop from a distant hotspot, build a directional client link to one known access point. The practical design is usually a USB or PCIe Wi-Fi adapter for a short, clear path, or an outdoor wireless bridge that receives the hotspot and feeds your desktop through Ethernet.
Distance alone does not determine success. The hotspot must be available to you, the antenna must have a clear radio path, and the received signal must provide enough signal-to-noise ratio (SNR) for a stable association and usable internet route.
How to Get Wi-Fi on a Desktop: Confirm the Hotspot and Line of Sight
First identify the exact hotspot, its approximate location, Wi-Fi band, and access requirements. A network name appearing in a scan only proves that your adapter detected a beacon. It does not prove that you can authenticate, associate reliably, pass a captive portal, or reach the internet.
- Stand outside or near a window facing the hotspot and record the network name, band, signal level, and noise if your adapter reports them.
- Map the approximate path between the hotspot and your desktop location. Trees, roofs, walls, vehicles, and metal structures can absorb or reflect the signal.
- Check for line of sight at the antenna height, not just from ground level. Leave roughly 60% of the first Fresnel zone clear; a visible straight line can still have too much obstruction around it.
- Confirm that the hotspot owner permits the connection and that you have any required password or portal access.
Use 2.4 GHz when obstacles and range are the main problems, but expect more congestion. Use 5 GHz for greater capacity when the path is clear. A longer link also needs more precise alignment, especially with a narrow directional antenna.
Can You Pick Up Free Wi-Fi Internet from Far Away?
You can sometimes learn how to pick up free Wi-Fi internet from far away, but a high-gain antenna cannot create an internet connection where the hotspot has no usable path. It improves the client’s ability to focus on and hear a known access point; it does not automatically unlock networks or replace authentication.
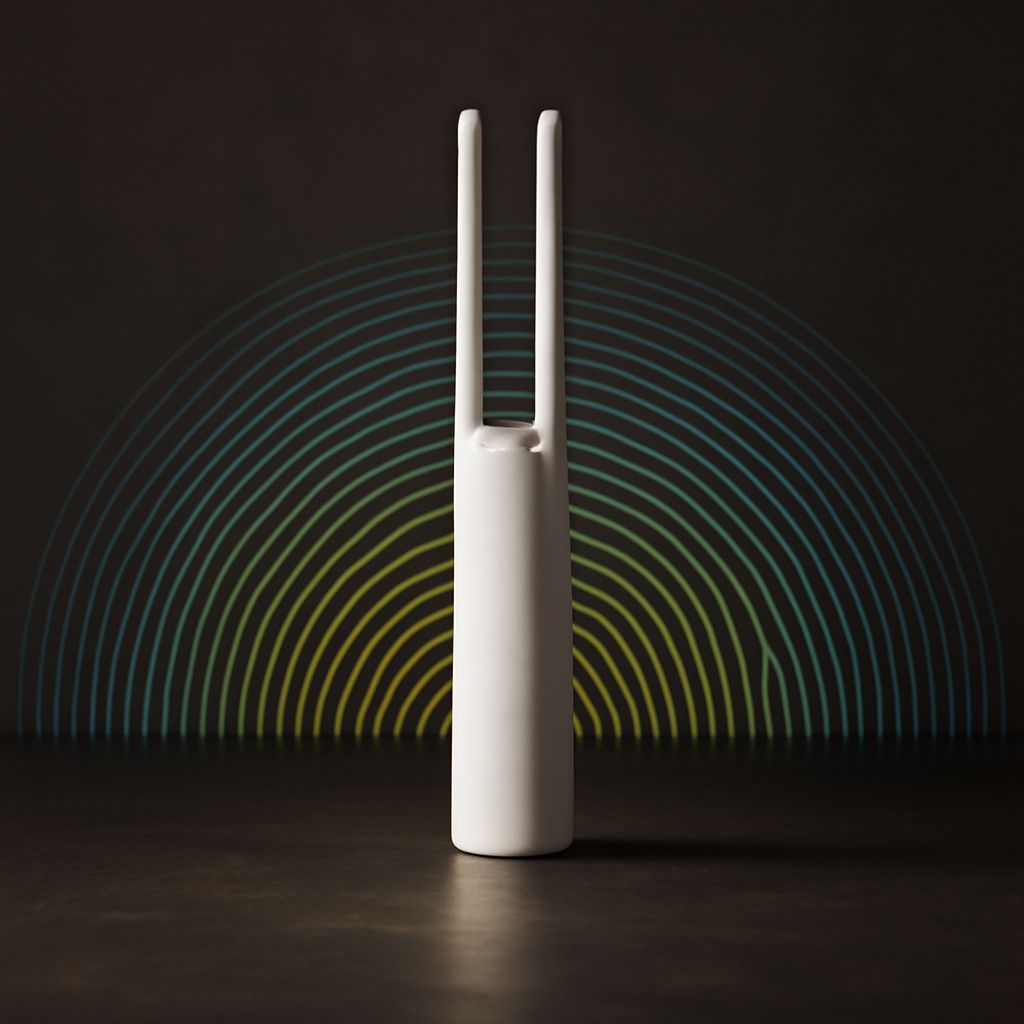
A directional antenna has gain because it concentrates reception and transmission into a pattern. A panel or parabolic dish can outperform an omnidirectional antenna at the same distance, but it covers a narrower angle. That makes it suitable for one identified hotspot and unsuitable for scanning every direction from indoors.
Plan the link around the source’s frequency and polarization. The client antenna’s polarization should match the access point’s orientation; a mismatch can cause significant loss. If the hotspot moves, changes antenna orientation, or is blocked by seasonal foliage, performance can change even when the network name remains visible.
Choose USB, PCIe, or an Outdoor Bridge over Ethernet
Choose a USB Wi-Fi adapter when the antenna can remain close to the desktop or a window. A model with a detachable antenna, such as a representative Alfa adapter, lets you use a better antenna than a tiny internal adapter. Keep the USB cable short and shielded where possible, because long runs can cause connection and power problems.
A PCIe Wi-Fi adapter, such as an Intel-based desktop card with external antenna leads, is tidy and can provide strong local Wi-Fi performance. However, the antenna leads are normally short. Running coaxial cable from the computer to a roof or pole can lose much of the benefit, particularly at 5 GHz.
An outdoor wireless bridge is usually the best choice for a genuinely distant hotspot. Products such as the Ubiquiti NanoStation, TP-Link CPE series, or MikroTik LHG are examples of directional outdoor client equipment. The bridge mounts near the antenna, handles the Wi-Fi association, and connects to the desktop with Ethernet, usually through a Power over Ethernet (PoE) injector. This avoids a long, lossy coaxial run and lets the desktop use ordinary Ethernet.
Use USB or PCIe for a short path and simple installation. Use a bridge when the antenna must be outdoors, the path is long, or the desktop is far from the mounting point. Check whether the bridge supports client or station mode, the hotspot’s band and security, and any captive-portal behavior before buying.
Use an Outdoor Wi-Fi Antenna Booster: Mount, Align, and Test the Link
An outdoor Wi-Fi antenna booster should normally mean a directional client antenna or bridge, not a generic amplifier. Select gain and beamwidth together: higher gain usually means a narrower beam and more difficult alignment. A panel is easier to aim; a dish or grid antenna suits a longer, unobstructed path but demands accurate mounting.
- Mount the antenna rigidly above nearby obstructions, pointing toward the known hotspot. Use a level mast and leave room to adjust horizontal and vertical angles.
- Keep the coaxial cable as short as possible. Use the connector type specified by the equipment, and avoid unnecessary adapters. Every connector and cable run adds loss; at higher frequencies, a long low-quality cable can erase the antenna’s gain.
- Match polarization and set the antenna’s vertical or horizontal orientation to the access point. If the bridge has an integrated antenna, rotate the whole unit as its instructions specify.
- Weatherproof outdoor connectors with self-amalgamating tape or an appropriate sealing system. Add a downward drip loop, protect the Ethernet entry point, and use suitable grounding and surge protection for exposed installations.
- Align slowly while watching the bridge’s received signal and noise readings. Make small horizontal adjustments, pause after each change, then repeat vertically. The strongest signal is not always the best link if it also raises interference.
At the desktop, record signal, noise, and SNR rather than signal bars alone. SNR is approximately signal level minus noise level: a reading near 25 dB or higher is a useful starting point, while a low or fluctuating SNR predicts retries and dropouts. Then run sustained ping tests to the bridge or local gateway, followed by an internet test such as Ookla Speedtest. If possible, use iperf3 against a device on the same network to separate Wi-Fi performance from the hotspot’s internet capacity.
Test downloads, uploads, latency, and packet loss at different times. A stable association with poor throughput usually indicates interference, cable loss, hotspot congestion, or a weak SNR—not a failure to detect the network.