To find a station, start with the frequencies used by a short-wave radio, pick a band suited to the time of day, and check the broadcaster’s schedule. Tune the listed number in AM mode, then move the receiver if noise or fading makes speech hard to follow.
A meter-band label points to a neighborhood on the dial. It does not identify a station or tell you when one is transmitting. Your receiver’s coverage, the signal’s path, and local electrical noise all affect what you hear.
Shortwave radio frequencies: Read the dial
Frequency tells you how many times a radio wave oscillates each second. A kilohertz (kHz) is 1,000 cycles per second; a megahertz (MHz) is 1,000 kHz. Thus 9,550 kHz and 9.550 MHz describe the same point. If your display uses MHz and a schedule lists kHz, divide by 1,000. Voice of America’s frequency guide gives the same conversion.
The shortwave radio frequencies used for international broadcasting sit in several separated parts of the high-frequency spectrum. Think of each part as a street, with individual transmissions at addresses along it. A receiver that reaches only one street cannot tune a station on another, even if both are described as international broadcasts.
Meter names refer approximately to wavelength, the distance between successive wave peaks. Frequency and wavelength move in opposite directions: a higher frequency has a shorter wavelength. Divide 300 by the frequency in MHz to estimate wavelength in meters. At 9.55 MHz, the result is about 31.4 meters, which explains the familiar 31-meter name. The number is a neighborhood label, so tune the frequency itself for precision.
For orientation, the 49-meter area is around 6 MHz, the 31-meter area around 9.5 MHz, the 25-meter area around 12 MHz, and the 19-meter area around 15 MHz. These are rounded landmarks, not exact band edges or station assignments. Search around them with the tuning control or consult a current schedule for a specific frequency.
Why the dial changes after dark
A distant signal may reach you because the ionosphere, an electrically charged region of the upper atmosphere, bends radio waves back toward Earth. The wave can travel well beyond the horizon; A technical presentation hosted by NOAA describes this long-distance HF propagation. The path changes with sunlight, season, solar activity, and the locations of transmitter and listener.
As a practical first experiment, try the higher-frequency 19- and 25-meter areas in daylight and the lower-frequency 31- and 49-meter areas after dark. Daylight can increase absorption in lower parts of the ionosphere, while higher frequencies may travel better on a given daytime path. At night, reduced absorption can help lower frequencies; the CISA presentation hosted by NOAA on day and night effects shows why. These are starting places, so compare more than one band if a signal is weak.
Shortwave frequencies can fade as different paths change relative to one another. Leave a promising signal tuned for a minute before moving on. If the sound returns and fades again, the station may still be transmitting even though reception is changing.
Match the schedule to your receiver
A shortwave broadcast occupies a specific frequency at a specific time for an intended audience. Find the broadcaster’s current schedule and read the language, target region, days, time, and frequency together. The VOA schedule, for example, groups services by audience and lists times in Coordinated Universal Time (UTC) and frequencies in kHz. Convert UTC to your local time, including the date if the conversion crosses midnight; remember that local daylight saving time can change the offset.
If two frequencies for HF radio are listed for the same program, try both. A transmission aimed at another region may still be audible, but its intended direction and changing propagation affect the result. A band label alone cannot tell you whether that program is on air now.
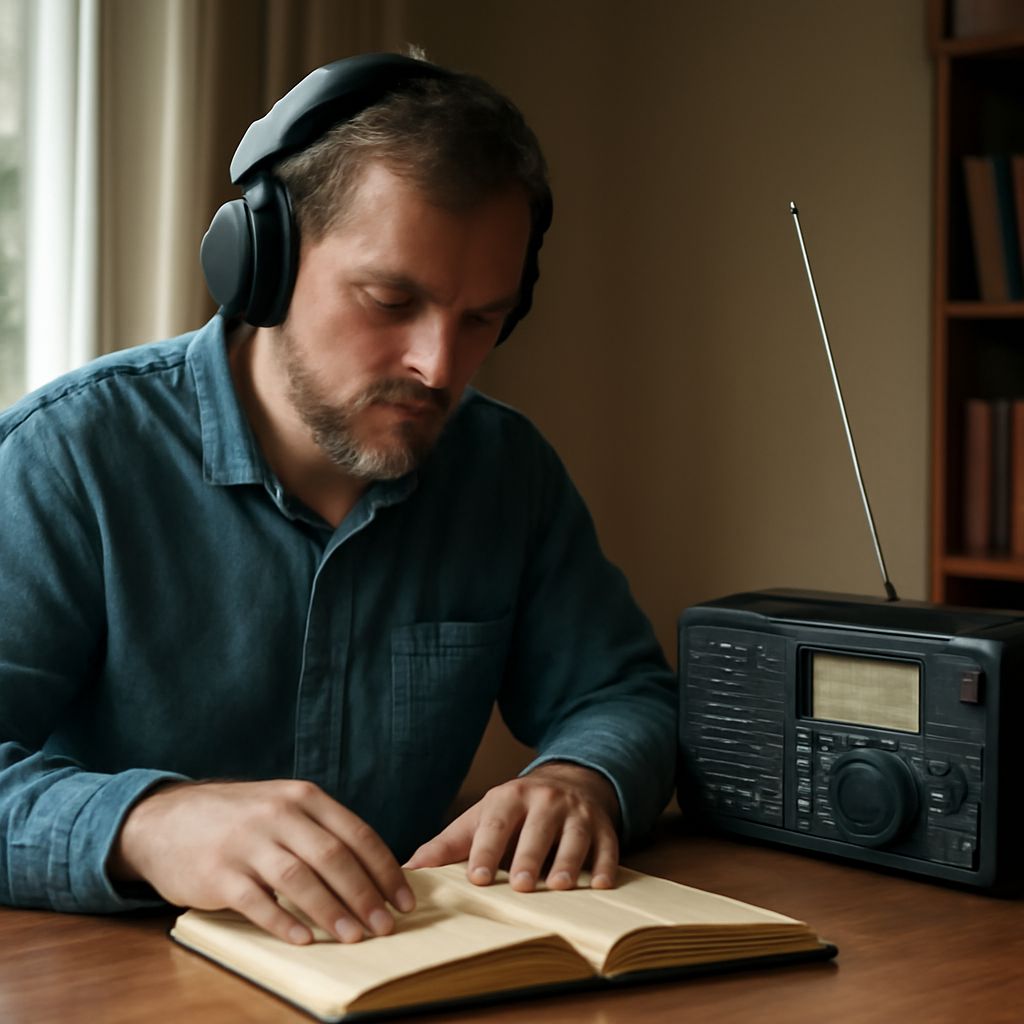
Before tuning, check your radio’s manual for its coverage range and any gaps. Some receivers cover a continuous span; others offer selected bands. The HF radio frequencies in a schedule must fall within the actual coverage. Select AM for a conventional AM broadcast, extend the supplied antenna as directed, and enter the number directly if the set has a keypad. Otherwise, tune slowly: a nearby signal can sound distorted until you center it.
Improve the signal where you listen
A quiet location can make a weak voice easier to understand. Move near a window, away from chargers, LED lights, computers, and other electronics. If a buzz follows you around the dial, unplug one suspect device at a time and listen for a change. A battery-powered receiver makes it easier to compare locations without carrying a power supply with you.
The HF radio frequency you chose may be correct even when noise masks it. Rotate or reposition the portable and compare the result. Use an external antenna only as the receiver’s instructions permit, and keep any wire clear of power lines. Strong signals can overload a receiver; if several stations seem to appear in unlikely places, shorten the antenna or use the attenuator if available.
For short-wave broadcasts, record the frequency, UTC, location, and what you heard. Those notes let you compare frequencies on an HF radio at another hour and distinguish a repeatable local noise problem from changing reception. Pick one entry in a broadcaster’s current schedule now, convert its frequency and time for your receiver, and try it beside a window.