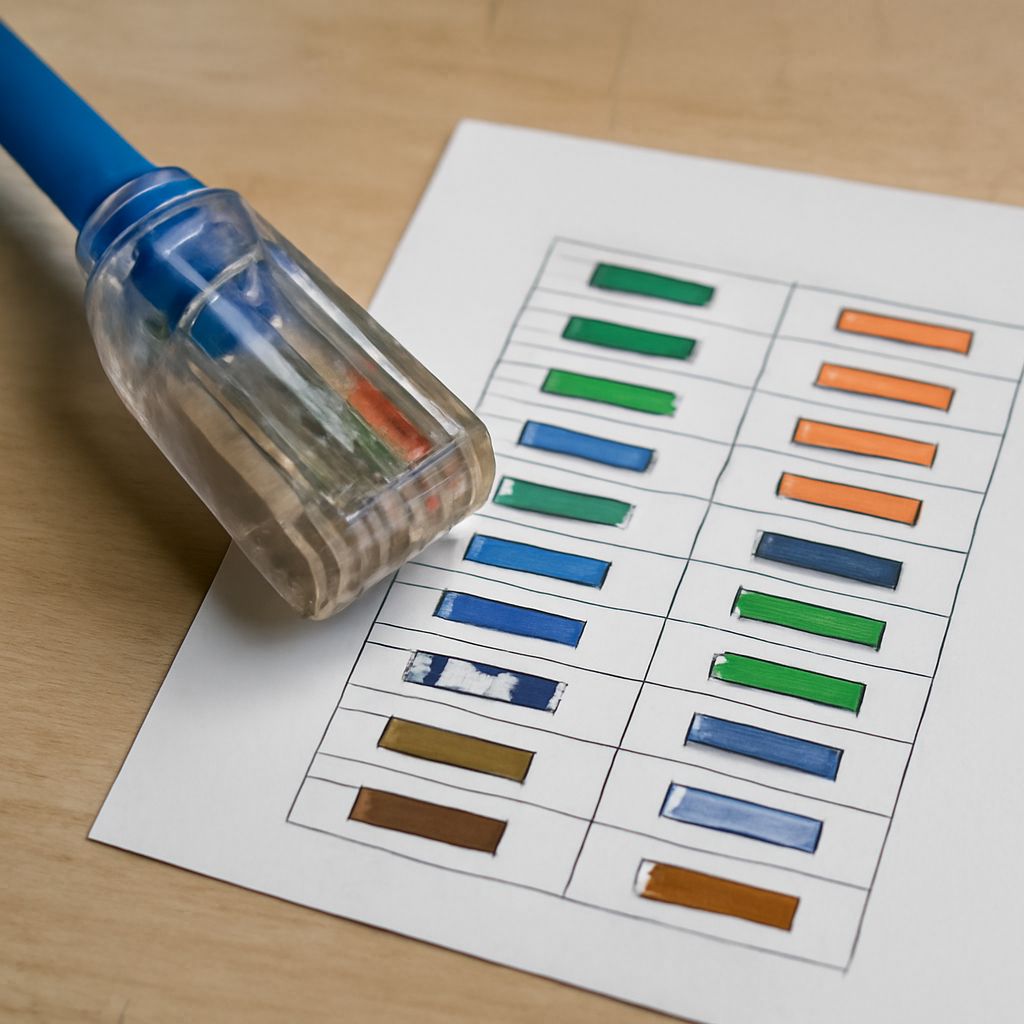
RJ11 wiring is synonymous with telephone connections in homes and offices. Though often overlooked, its understanding is crucial for effective telecommunication setups. This guide will delve into the intricacies of RJ11 wiring, offering insights into reading wiring diagrams, understanding color codes, and the steps to wire an RJ11 connector.
What is RJ11 Wiring and Its Applications?
RJ11 wiring refers to the setup used for connecting telephones and other related systems. An RJ11 connector typically accommodates four to six wires, although only two or four are usually utilized for standard telephone systems. The RJ11 connector is predominantly used in North America, facilitating voice and data transfer.
Typical applications of RJ11 wiring include home and office telephones, modems for internet connectivity, and fax machines. Despite the rise of wireless technology, RJ11 remains a staple in various setups due to its reliability and ease of installation.
How to Read an RJ11 Wiring Diagram
Grasping an RJ11 wiring diagram is essential for anyone looking to install or troubleshoot a telephone network. The diagram provides a visual representation of the wire connections within the RJ11 connector.
When examining an RJ11 wiring diagram, you’ll observe multiple lines representing the wires. Usually, these lines are color-coded to depict the specific wires in the connector. Each wire performs a distinct function, such as carrying voice signals or providing power to the phone. Understanding these elements ensures a correct and efficient connection.
Decoding the RJ11 Color Code
The RJ11 color code is a standardized color scheme used to identify individual wires within the connector. This coding helps differentiate the wires’ purposes and ensures correct connections.
The standard RJ11 color code involves four primary colors: red, green, yellow, and black. Typically, the red and green wires are utilized for the primary telephone line, while the yellow and black may serve as a secondary line or for other functions. These color assignments help to simplify installation and maintenance tasks.
Steps to Wire an RJ11 Connector
Wiring an RJ11 connector can be straightforward if you follow a systematic approach. Below are the steps required to wire an RJ11 connector effectively:
- Gather your tools: You’ll need a wire stripper, RJ11 connectors, and a crimping tool.
- Strip the cable: Use the wire stripper to remove approximately 2 inches of the outer insulation from the telecommunication cable, exposing the multiple wires within.
- Identify the wires: Based on the RJ11 color code, identify the red, green, yellow, and black wires. Ensure to keep them separated to prevent confusion.
- Arrange the wires: Align the wires in the sequence required by the RJ11 wiring diagram. Usually, this involves placing the red and green wires in the center positions of the connector.
- Insert the wires: Carefully insert the arranged wires into the RJ11 connector. Ensure each wire fits snugly into its respective slot.
- Crimp the connector: Using the crimping tool, apply firm pressure to secure the wires within the connector. This step is crucial for maintaining a stable and efficient connection.
- Test the connection: Once crimped, test the RJ11 connection using a telephone or a line tester to ensure proper functionality.
Following these steps will help ensure a successful RJ11 wiring installation. Whether setting up a new system or troubleshooting an existing one, understanding the RJ11 wiring essentials is invaluable for anyone involved in telecommunication infrastructure.