Knowing how to measure lug pattern correctly is crucial when replacing your wheels or rims to ensure a perfect fit and safe driving. The lug pattern, also known as the bolt pattern, refers to the number of wheel bolts (or lugs) and the precise diameter of the circle they form. This step-by-step guide will cover how to measure lug pattern on your vehicle, explain the tools you’ll need, and provide expert tips for accurate wheel bolt pattern measurement so you can confidently select compatible wheels or rims.
What Is a Lug Pattern and Why Does It Matter?
A lug pattern—or bolt pattern—is defined by two numbers: the number of lug holes (sometimes called studs) and the diameter of the circle they form. For example, a “5×114.3” pattern means the wheel has five lug holes spaced on a 114.3 mm diameter circle. While you may see it listed in millimeters (mm) or inches (in), the measuring wheel bolt pattern process is the same.
This measurement matters because different vehicles have different wheel bolt patterns, directly affecting which aftermarket wheels or rims will fit. Using an incompatible pattern can lead to poor wheel fitment, safety issues, vibrations, or damage to your wheels and hub. That’s why accurate wheel bolt pattern measurement is a critical step before buying new wheels.
Common lug patterns include 4×100, 5×114.3, 6×139.7, and 8×165.1, each corresponding to various makes and models. Some vehicles—like most Hondas—use a 5×114.3 pattern, while certain trucks use larger patterns like 6×139.7. Always confirm your vehicle’s specific pattern before purchasing wheels.
Understanding how to measure bolt pattern on rims is especially useful if you’re looking at aftermarket or used wheels, as listings may not always be accurate or complete. Precise measurement ensures compatibility and safety every time you swap or upgrade wheels.
Tools You Need to Measure Lug Pattern
You don’t need specialized equipment to measure a lug pattern, but having the right basic tools will make the process easier and more accurate. The most essential tools include:
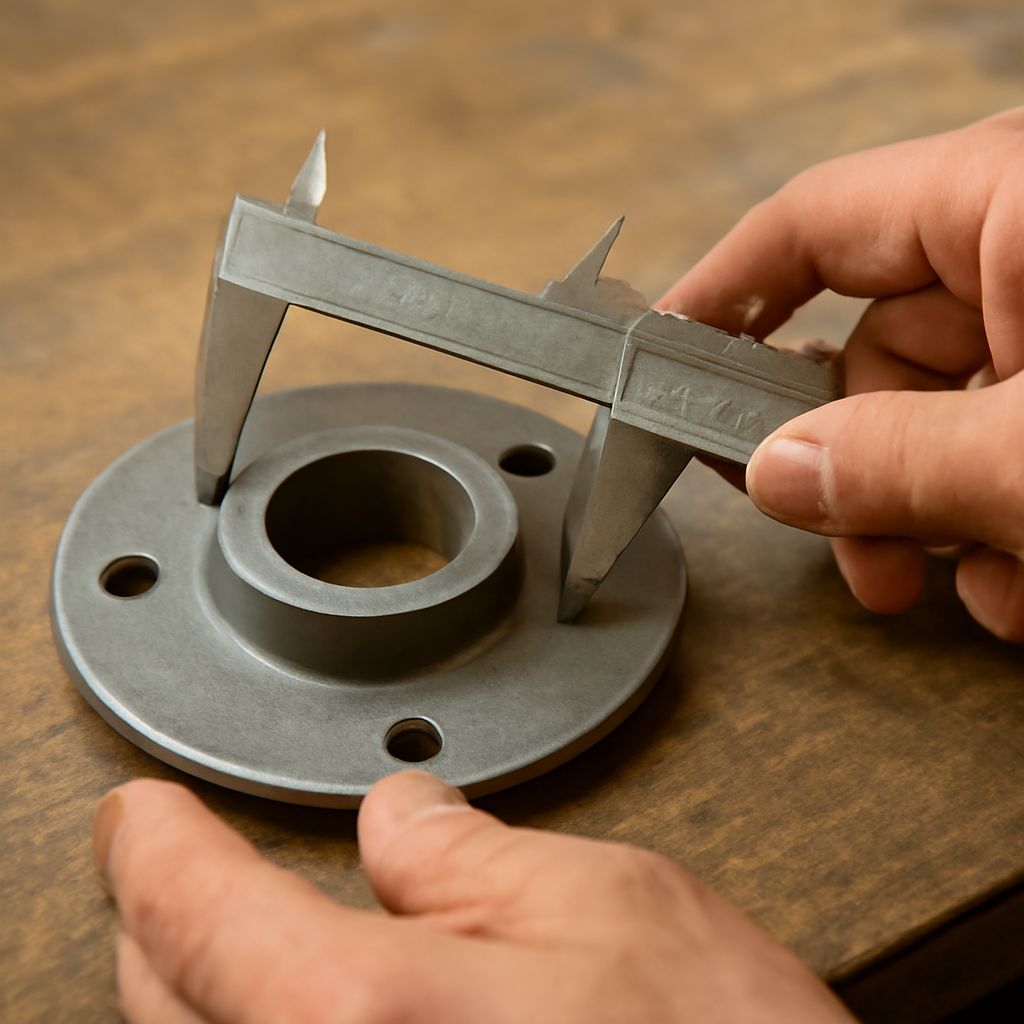
- Tape Measure or Ruler: A standard tape measure with millimeter and inch markings works best for measuring wheel bolt pattern. For more precision, a rigid ruler or caliper is helpful.
- Wheel Bolt Pattern Gauge (Optional): These inexpensive plastic or metal templates have pre-marked holes for common bolt patterns, speeding up identification.
- Pen and Paper: Useful for recording your measurements and double-checking results, especially if you’re comparing multiple wheels or rims.
- Lug Nut Socket or Wrench: If you need to remove the wheel to access the hub or verify the pattern directly.
While digital calipers can provide extremely accurate measurements, they aren’t strictly necessary for most DIY lug pattern checks. For most purposes, a tape measure or ruler is sufficient to measure bolt pattern on rims and hubs alike.
If you’re working with older or custom wheels and suspect the pattern isn’t standard, using a bolt pattern gauge or comparing your results to online pattern charts is a helpful way to confirm accuracy.
Step-by-Step Instructions: How to Measure Lug Pattern
Follow these steps to measure your lug pattern quickly and accurately at home:
-
Count the Number of Lug Holes
Look at your wheel or hub and count the number of lug holes or studs. Common patterns are 4, 5, 6, or 8 holes. -
Measure the Bolt Circle Diameter
- For Even Numbers (4, 6, 8 lugs): Measure from the center of one lug hole directly across the center of the wheel to the center of the opposite lug hole. This gives you the bolt circle diameter.
- For Odd Numbers (5 lugs): Measure from the center of one lug hole to the center of the lug hole directly across from it, but since there’s no exact opposite, measure from the center of one lug to the far edge of the lug that is directly across the circle (skip one lug). This indirect method gives the diameter of the circle formed by all five lugs.
-
Record and Format the Pattern
Write the result as “[number of lugs] x [diameter].” For example, “5×114.3” means five lugs on a 114.3 mm bolt circle. -
Double-Check Your Measurements
Always repeat the measurement for accuracy and compare with manufacturer’s specifications or a bolt pattern chart.
These steps work for both measuring wheel bolt pattern on rims (off the car) and on the hub (with the wheel removed). If you’re measuring bolt pattern on rims that are aftermarket or used, confirm that the holes are evenly spaced and not modified.
Remember that wheel bolt pattern measurement is a physical task—take your time and measure carefully to avoid costly fitment mistakes.
Tips for Measuring Wheel Bolt Pattern Accurately
Accuracy is key when measuring lug pattern. Here are practical tips to get it right every time:
- Measure in Millimeters: Most modern vehicles use metric bolt patterns, so measuring in millimeters reduces conversion errors.
- Ensure Straightness: Hold the tape measure or ruler perfectly straight across the lug holes. Even a slight angle can throw off your measurement.
- Clean the Surface: Dirt, rust, or debris can obscure the true center of the lug holes, so clean the wheel or hub before measuring.
- Check Both Wheel and Hub: If possible, verify the pattern on both the wheel and the vehicle’s hub to avoid errors due to aftermarket modifications or incorrect listings.
- Use a Pattern Chart: After measuring, compare your numbers to common bolt pattern charts online to confirm your findings.
Understanding how to measure lug pattern lets you choose wheels and rims confidently, ensuring a safe, snug fit every time and eliminating guesswork from your next wheel upgrade.