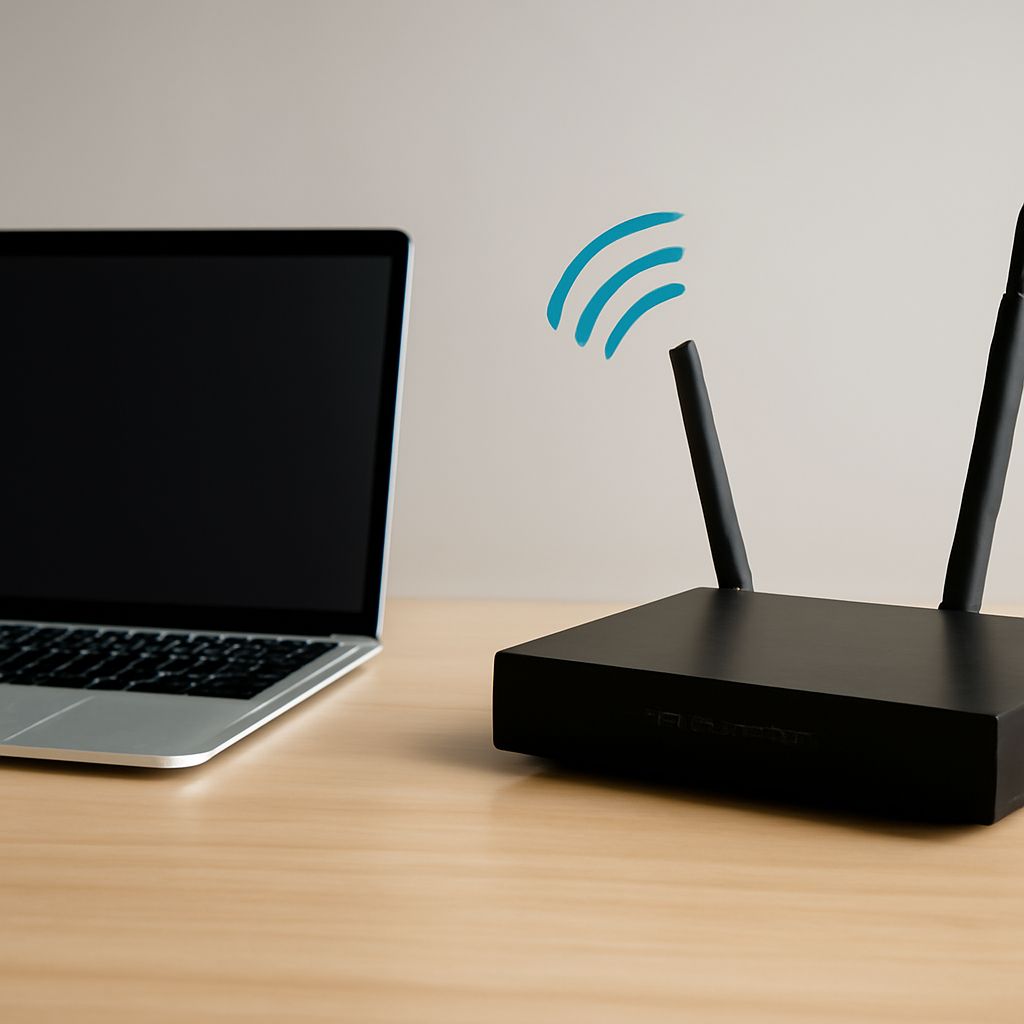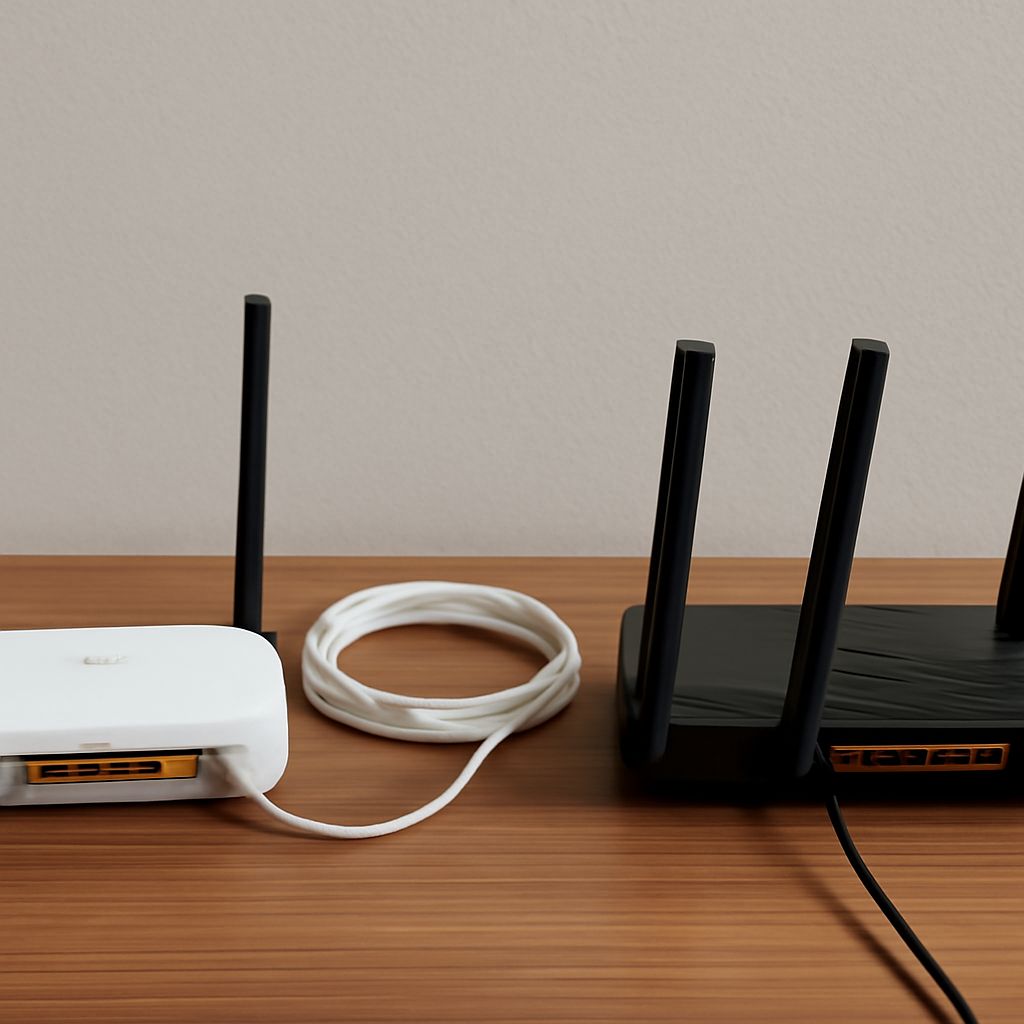
Setting up a router as an access point extends an existing network without creating a second routed subnet. The key decision is the uplink: Ethernet from the main router gives the spare router a dedicated wired backhaul, while a repeater retransmits traffic over Wi-Fi. For most homes and offices, use the access point when you can run cable; choose a repeater only when cabling is impractical.
The steps below configure the spare router as a LAN device, with the main router retaining responsibility for DHCP, NAT, internet access, and address assignment.
Wireless access point vs repeater: Which uplink fits your network?
An access point uses Ethernet for its uplink and Wi-Fi for client devices. Because backhaul traffic does not compete with wireless client traffic, it normally provides better capacity, lower latency, and more predictable throughput. It can be placed wherever an Ethernet cable can reach, such as a central hallway or another floor.
A wireless repeater uses a wireless uplink to the main router, then retransmits that traffic to clients. The same radio may need to receive and send each frame, consuming airtime and often reducing usable throughput. Performance also depends heavily on signal quality between the repeater and the main router.
For a wireless repeater versus access point decision, choose the access point for video calls, gaming, file transfers, or many simultaneous clients. Choose the repeater for a temporary coverage gap or a location where installing Ethernet is not practical. Place a repeater about halfway between the main router and the weak-signal area, not inside the dead zone.
Prepare the spare router: assign its management IP and disable DHCP/NAT
- Connect a computer to a LAN port on the spare router. Do not connect the Ethernet uplink yet, and do not use its WAN or Internet port.
- Open the spare router’s administration page and identify the main router’s LAN network. For example, the main router may use
192.168.1.1with a subnet mask of255.255.255.0. - Choose an unused management IP on that same subnet. If the main router’s DHCP pool is
192.168.1.100through192.168.1.200, an address such as192.168.1.2may work. Confirm that the address is not already in use, or create a reservation for it on the main router. - Change the spare router’s LAN address to the chosen IP and set the main router’s address as its default gateway. Save the change, then sign in again using the new management address.
- Disable the spare router’s DHCP server. The main router should be the only device assigning IP addresses, gateways, and DNS settings.
- Disable NAT and routing functions if the firmware exposes separate controls. If the router has a documented access point mode, use that mode only when it manages these settings for you. Otherwise, the LAN-to-LAN connection and disabled DHCP keep the spare router from creating a second network.
If the administration page becomes unreachable after changing the LAN address, reconnect the computer to the spare router and verify that both devices are on the same subnet. Do not restore the old address if it conflicts with the main router.
Connect the Ethernet uplink and configure SSID, security, channels, and placement
Run Ethernet from a LAN port on the main router to a LAN port on the spare router. Leave the spare router’s WAN port unused. After the link comes up, configure its wireless networks.
- For simpler roaming, use the same SSID, password, and security mode as the main router. Client devices decide when to roam, so identical settings do not guarantee an immediate handoff.
- Use WPA2-Personal or WPA3-Personal according to client compatibility. Avoid mixing security modes if older devices repeatedly disconnect.
- Set the access point to a channel that does not overlap unnecessarily with the main router. On 2.4 GHz, use 1, 6, or 11; on 5 GHz, choose a clear permitted channel. Automatic channel selection is acceptable if both devices do not repeatedly select congested channels.
- Place the access point where clients need coverage, with the Ethernet cable providing the backhaul. Avoid cabinets, metal obstructions, and locations beside microwaves or other major sources of interference.
If the spare router supports separate 2.4 GHz and 5 GHz names, keeping them distinct can make testing easier. Once coverage is confirmed, either naming approach can remain in use.
Test roaming, addressing, LAN access, and throughput
Connect a phone or laptop near the new access point and verify the following:
- Addressing: Check the client’s network details. Its IP address should come from the main router’s DHCP pool, with the main router listed as the default gateway and DNS server. It should not receive an address from a second subnet.
- LAN access: Open the main router’s management page or access a shared device on the LAN. Also confirm that the spare router’s management page responds at its assigned IP.
- Internet access: Browse several sites or run a DNS lookup. If local access works but browsing fails, inspect the client’s gateway and DNS values before changing Wi-Fi settings.
- Roaming: Walk between the main router and access point while monitoring the client’s connection. The device should move to the stronger signal, although a brief pause or delayed handoff is normal.
- Performance: Run a file transfer or an iperf3 test to a wired LAN host near each wireless device, then compare results at the same distance. Test at different times because interference and client capabilities affect throughput.