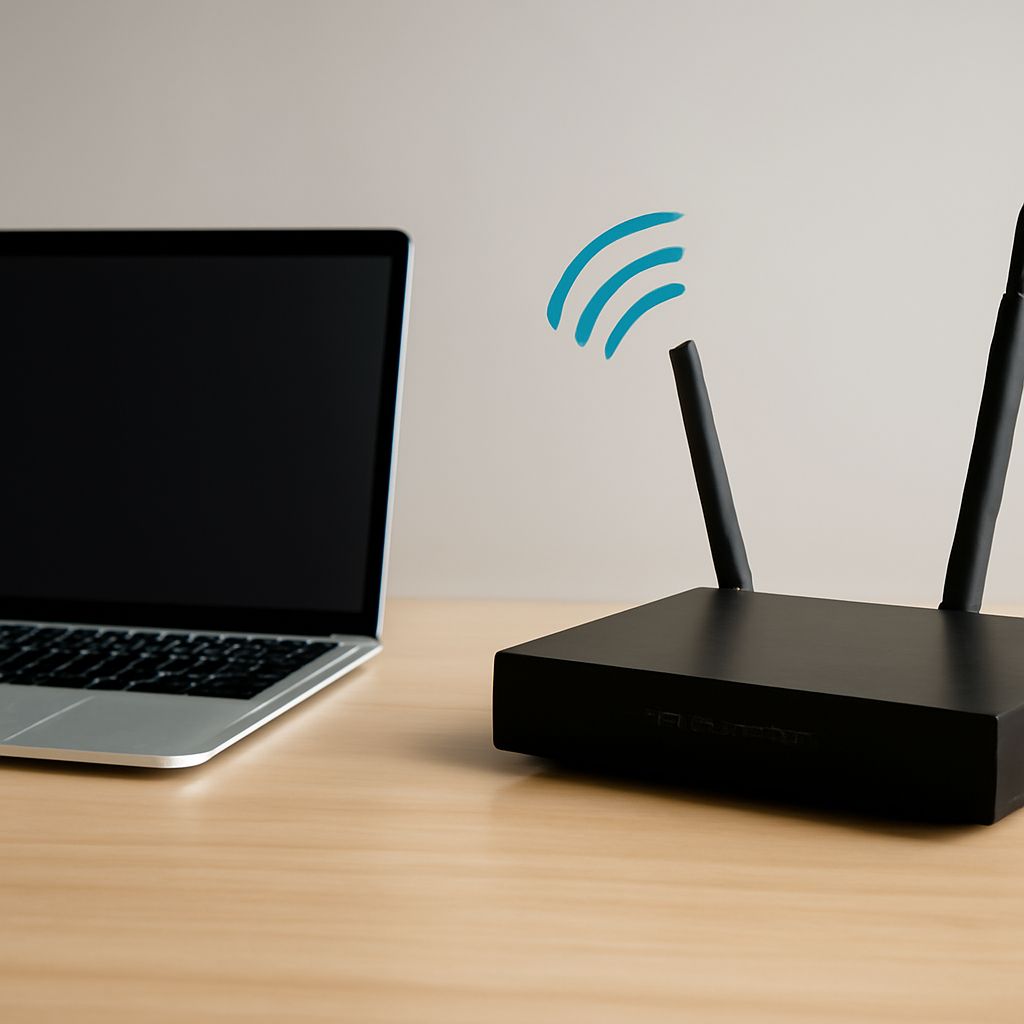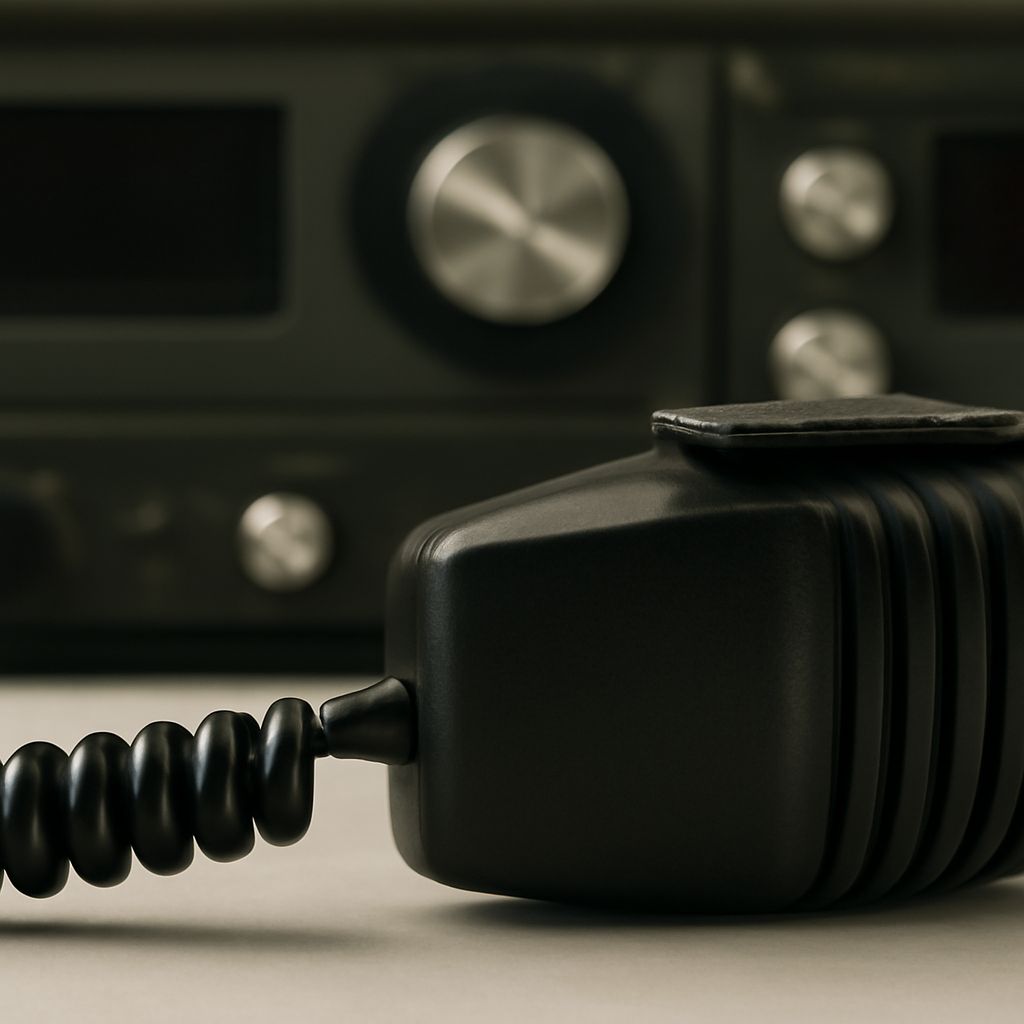
A trucker cb radio is only as effective as the antenna system connected to it. Mount the antenna securely, bond the truck’s metal panels, route quality coax carefully, and verify SWR before trying to increase power.
The correct order is installation, inspection, SWR measurement, adjustment, and a brief radio check. Learning how to tune a cb radio protects the radio and usually improves performance more than adding a cb radio amplifier.
Trucker CB Radio: How should you plan the installation?
Choose the radio location before running any wires. Mount it where the driver can reach the controls without leaning, where the display is visible, and where the microphone cord will not interfere with the shifter, pedals, or steering wheel. Leave space around the radio for ventilation, and use a solid bracket with machine screws or hardware suited to the dashboard or mounting surface.
Plan three separate paths:
- Power: Run the positive lead to a suitable fused 12-volt source. If connecting directly to the battery, place the fuse close to the battery terminal. Use the fuse rating specified by the radio manufacturer, and connect the negative lead to the recommended battery or chassis ground.
- Coax: Route the antenna cable from the radio to the antenna mount without sharp bends or crushing.
- Microphone: Leave enough slack for normal movement, but secure excess cable so it cannot catch on controls.
Disconnect power while making connections. Protect wires passing through metal with a grommet, keep them away from exhaust heat and moving parts, and use cable ties or clamps rather than allowing the harness to hang. Confirm polarity before powering the radio.
How do you mount and bond the antenna, then route coax?
Use a fixed mount that gives the antenna a firm vertical position and as much clear metal around its base as practical. A centered roof location generally provides the most uniform radiation pattern. On many trucks, a mirror, hood, or stake-pocket mount is more practical; choose one that leaves the antenna clear of the cab, sleeper, mirrors, and nearby cargo.
The mount needs an RF connection to the truck’s metal body, not merely mechanical contact. Remove paint, powder coating, and corrosion from the contact surfaces, tighten the hardware firmly, and use star washers where appropriate. After testing, protect exposed metal from corrosion without insulating the electrical joint.
Bond panels that are separated by rubber mounts or hinges with short braided ground straps. Depending on the truck, useful bonding points can include the hood, cab, bed, and mount bracket. A fiberglass body or heavily insulated mounting location may need a different installation approach because it does not provide a sufficient counterpoise.
Use good-quality 50-ohm coax with correctly installed connectors. Make gradual bends, never kink the cable, and avoid tightly coiling a large excess beneath the dashboard. Keep coax away from ignition wiring and high-current power cables where possible. At the antenna mount and radio, secure the cable so its weight and vibration do not pull on either connector; this strain relief prevents intermittent faults.
How to tune a CB radio with an SWR meter
Tune the antenna with the amplifier disconnected, the radio at normal low-power settings, and the engine off. Inspect the mount, coax, connectors, and bonding first. Then connect the meter in line: radio to the meter’s transmitter or TX jack, and antenna to the antenna jack.
- Select channel 1. Set the meter to forward or FWD, key the microphone briefly without speaking, and adjust the meter’s calibration control to its marked position. Release the microphone if the meter requires calibration before reading.
- Switch the meter to reflected or REF, key briefly again, and record the SWR reading.
- Repeat the measurement on channel 40 using the same procedure. Check channel 20 as a midpoint if the meter allows it.
- Compare the readings. A low, similar reading across channels indicates a reasonable match. If channel 1 is higher than channel 40, the antenna is commonly too long; if channel 40 is higher, it is commonly too short.
- Make only small antenna-length changes, then repeat the measurements on channels 1 and 40. On a tunable whip, adjust the tip or supplied sleeve as directed by its design; do not cut a wire or whip until you know which way the reading must move.
An SWR below about 1.5:1 is a strong result, while readings below 2:1 are often usable. Treat a reading above 3:1 as a fault to investigate rather than a tuning target. High SWR on every channel usually points to a poor mount ground, defective coax, a loose connector, an unsuitable antenna, or insufficient bonding. Do not keep transmitting into a high reading.
After the SWR is acceptable, make a short radio check on a clear channel. Confirm that others can hear clean audio and that received signals are normal. Excessive microphone gain can cause distortion, so increase it only enough for clear modulation.
CB Radio Amplifier: What does it change?
“Amplifier” can describe several different changes:
- Receive amplifier: A preamplifier raises weak incoming signals, but it also raises noise and can overload when strong stations are nearby. It cannot improve a damaged coax connection or a poorly bonded antenna.
- External transmit amplifier: A linear or “kicker” increases radio-frequency output from the transmitter. It does not correct SWR; high reflected power can damage the amplifier as well as the radio, and its use may be restricted by local rules and equipment limits.
- Microphone gain: This changes how strongly audio drives the transmitter’s modulation. It is not the same as increasing RF output. Excessive gain produces splatter and unintelligible audio.
- Antenna-system improvement: A better antenna position, secure mount, bonded body, sound coax, and low SWR improve the actual path between the radio and the air. This is the first performance upgrade to make.
Never use a transmit amplifier to mask high SWR or a defective antenna ground path. Tune and test the radio-to-antenna system first; only then can you judge whether any additional equipment solves a real problem.