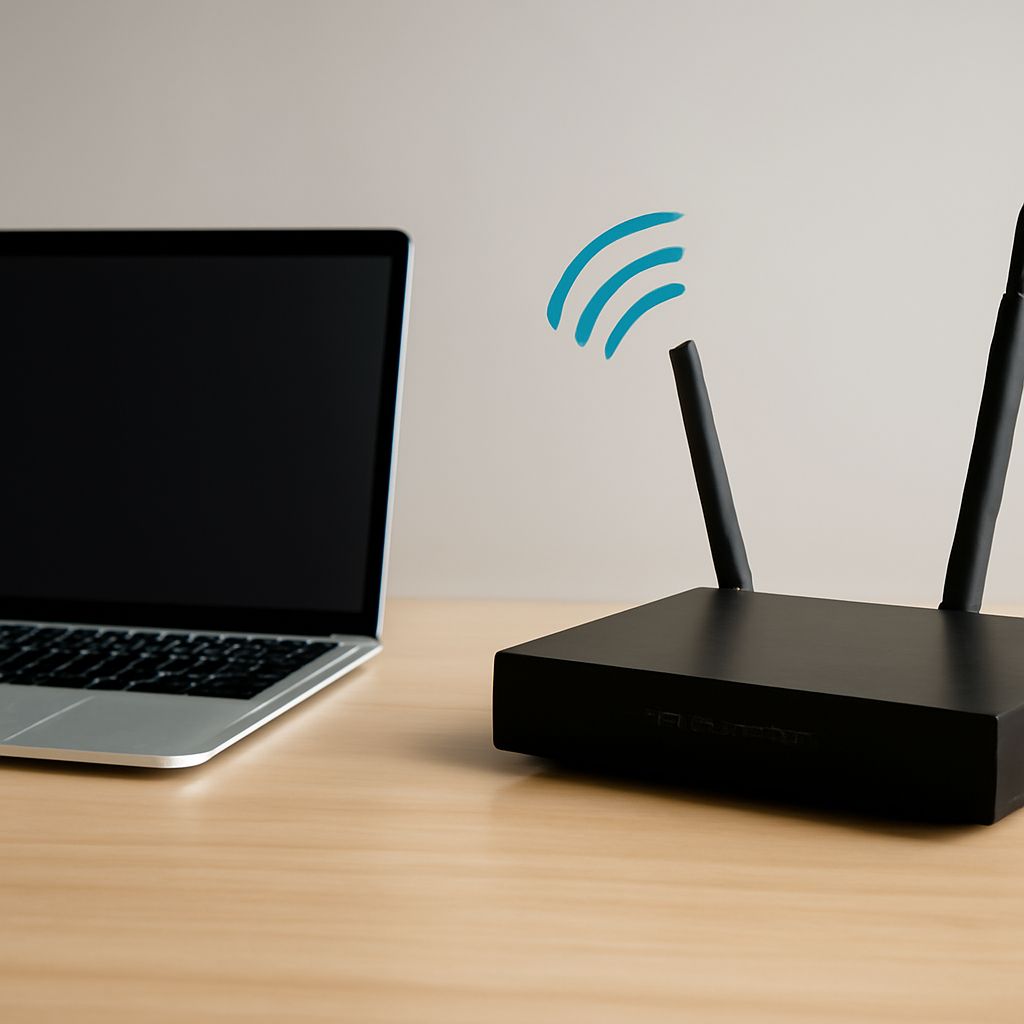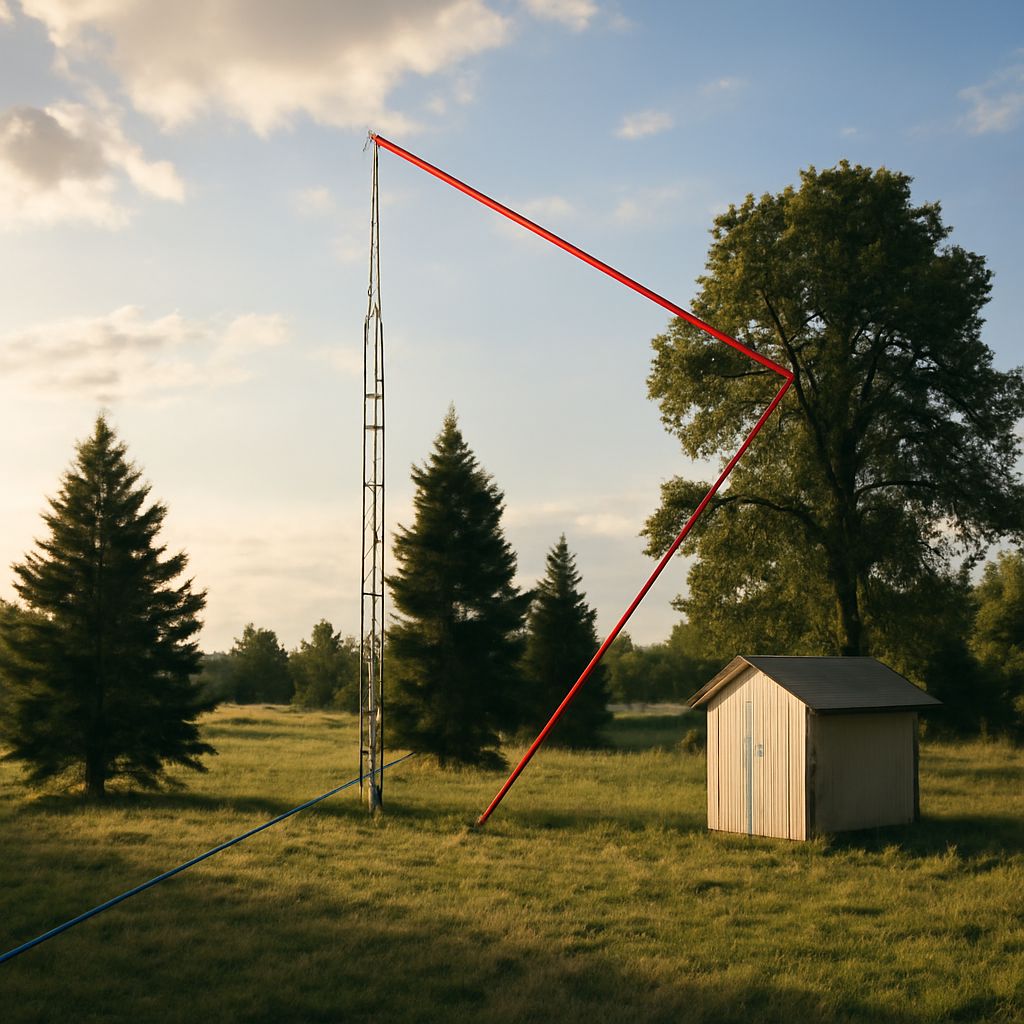
A practical ham radio station layout follows four paths: signal, power, control, and grounding. Arrange those paths before mounting equipment so the transceiver, antenna, computer, and test gear remain easy to use and service.
If you are deciding how to build a ham radio station, start with the operating goals rather than the furniture. A compact VHF/UHF setup for local repeaters needs a different antenna and feed line plan from an HF station intended for long-distance contacts.
Ham Radio Station Layout: Choose Bands and Operating Goals
Choose the bands first because they determine the transceiver, antenna, coaxial cable, and available operating space. A dual-band VHF/UHF transceiver is a practical first choice for local voice, repeaters, and some digital modes. An HF transceiver supports longer-distance communication but generally needs more room for an antenna tuner, larger power supply, and outdoor antenna system.
- Local voice: Plan for a VHF/UHF radio, a simple control position, and an outside vertical or base antenna.
- Long-distance HF: Reserve space for the transceiver, tuner if required, meter, computer interface, and a dipole, vertical, or similar antenna.
- Digital operation: Include a computer interface, USB or audio cable path, and enough ventilation for equipment that may transmit for extended periods.
Write down the modes you expect to use, the bands you want to cover, and whether the same radio will move into a vehicle. That decision identifies which equipment should remain permanently wired and which equipment should use quick-disconnect cables.
How to Build a Ham Radio Station Around Signal, Power, Control, and Grounding Paths
Place the transceiver where the display and controls are visible, with the microphone or key within easy reach. Put the power supply and fused distribution block behind or beside it, not directly on top of the radio. Leave several inches around ventilation openings, and do not block a cooling fan with a wall, paperwork, or another device.
Organize the rear of the desk by function:
- Signal path: Antenna, coaxial feed line, optional SWR or power meter, and transceiver. Keep coax as short as practical and avoid sharp bends.
- Power path: AC-powered supply, DC output, fused distribution, and radio. Use the radio manufacturer’s recommended fuse near each branch, and size wire for the expected current and cable length.
- Control path: Microphone, key, speaker, computer interface, USB leads, and remote control cables. Keep these accessible without unplugging the antenna.
- Grounding path: Bond equipment chassis and the station ground point with short, direct conductors where appropriate. Treat protective electrical grounding and RF bonding as related but separate jobs.
Keep power cables separated from microphone, audio, and computer cables to reduce hum and digital noise. When cables must cross, cross them at approximately 90 degrees. Use hook-and-loop ties rather than permanent bundles so you can reach connectors and replace a fuse. Label both ends of every cable with its purpose and destination, such as “radio DC,” “HF antenna,” or “computer audio.”
Connect, Label, and Test the Base-Station Antenna System
For a base station, use a defined entry point for the antenna cable rather than bringing loose coax across the floor. A wall bulkhead or desk feed-through keeps the cable supported and makes it easier to disconnect the indoor equipment. The normal signal chain is antenna, outdoor coax, entry point, optional meter or antenna switch, and transceiver.
Choose a base antenna that matches the bands and location. A vertical may use radial wires or a conductive mounting surface as its counterpoise. A dipole uses its own two-sided radiating structure. Do not assume that a base antenna’s ground arrangement is the same as a vehicle’s metal body.
Before transmitting, create these test points:
- Measure the power supply output at the distribution block, with the radio connected but switched off.
- Inspect each fuse, crimp, connector, and coax shield for a firm mechanical connection.
- Connect a suitable dummy load and verify that the radio produces expected output without using the outdoor antenna.
- Use an SWR or antenna analyzer at the radio end to check the feed line and antenna across the intended band.
Record the test results beside the equipment. If SWR is unexpectedly high, stop transmitting at full power and check the connector, cable routing, antenna frequency range, and mounting hardware one at a time.
Plan a Mobile Ham Radio Antenna: Mount, Ground Plane, Power, and Controls
A mobile installation is not a smaller copy of a base antenna. The vehicle body becomes part of the RF system, so mounting location, metal surface area, bonding, and cable routing affect performance. A roof-mounted NMO antenna usually has a more consistent ground plane than a trunk-lip mount. A magnetic mount is convenient for temporary use, but its feed line and mounting surface still affect tuning.
- Mount: Use a secure NMO, trunk-lip, lip, or magnetic mount suited to the antenna and vehicle. Keep the antenna clear of roof racks and other metal when possible.
- Ground plane: A quarter-wave mobile antenna generally needs conductive vehicle metal beneath it. Fiberglass or plastic body panels do not provide the same counterpoise, so a different antenna or bonding method may be needed.
- Feed line: Route coax away from hinges, pedals, sharp edges, airbags, and moving seat tracks. Protect the entry point and avoid crushing the cable.
- Power: Place the recommended fuse close to the battery on the positive lead, use suitable wire, and connect the return lead as directed by the radio manufacturer. Do not share an unsuitable accessory-socket circuit with a high-current transmitter.
- Controls: Mount a remote control head where it is visible without obstructing driving controls. Keep the microphone reachable, but secure loose cables so they cannot interfere with steering or pedals.
After installation, check the radio’s supply voltage with the engine off and running, then measure SWR at the antenna’s operating frequency. Tune or reposition the antenna only while parked. Keep a labeled disconnect between the radio, power, control head, and coax so the mobile unit can move back to the base station without rebuilding the entire layout.